
There has been a huge menu system with options that is unable to skip. In below article, administration officer has been carrying on introducing about this varied system.
In this passage, the admin is going to give you an overall vision about menu so that you will find it easy to understand how to search for suitable tool to edit photograph in proper way.
Instructions about Adobe Photoshop CS6 were performed:
• Part 1 : Toolbox
• Part 2 : Panels
• Part 3 : Layer
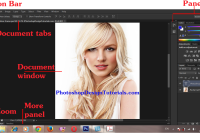
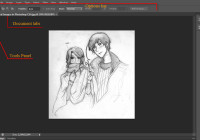
1. Menu bar

This is a basic menu bar with a number of functions , it is located on the top of the working window of Photoshop. Each button is overall menu, we will look through all the menu mentioned.
2. Menu file
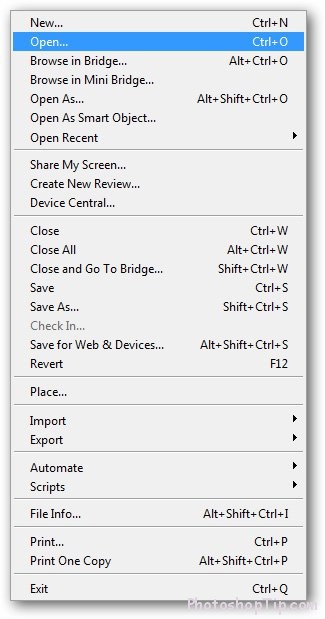
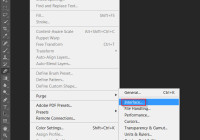
There exists so many features that you will get confused besides basic buttons like New, Open, Close.
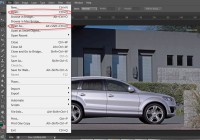
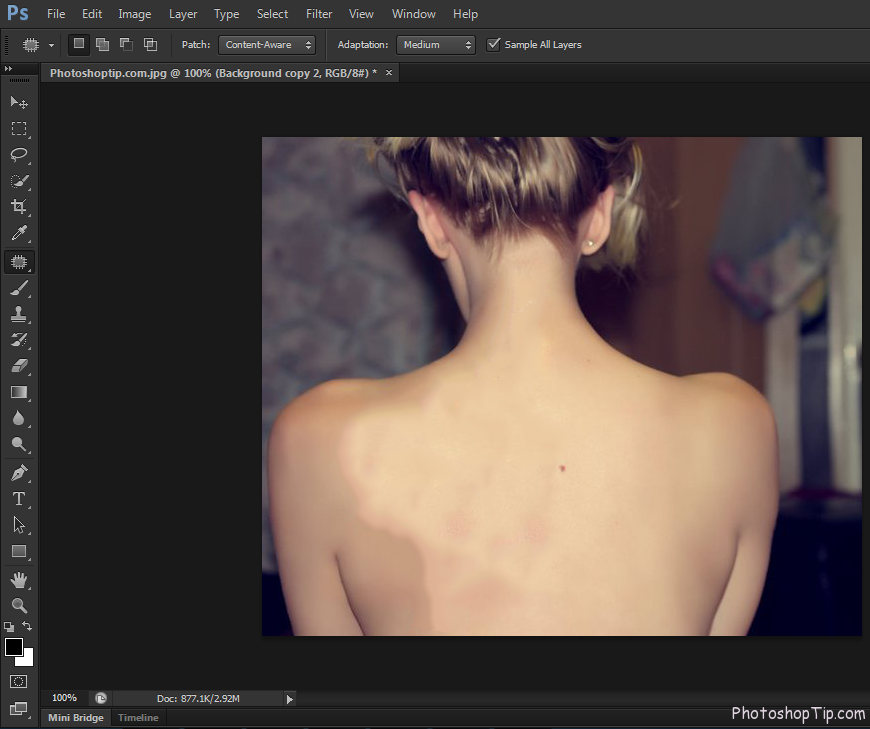
Browse in Bridge : This is a program that attached with Photoshop to censor images. It allows user to manage picture in form of image (not only the name is file), similarly is Goodle Picasa. Bridgle is pretty good program but it can be dirturbing if you open it at a random because it is quite time consuming to download.

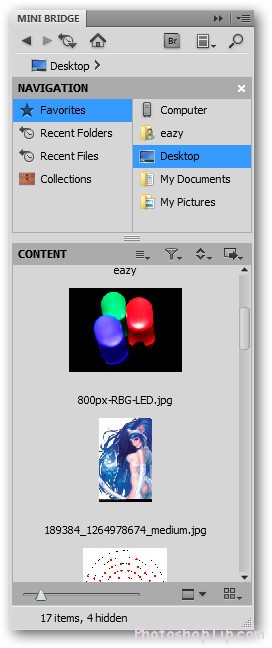
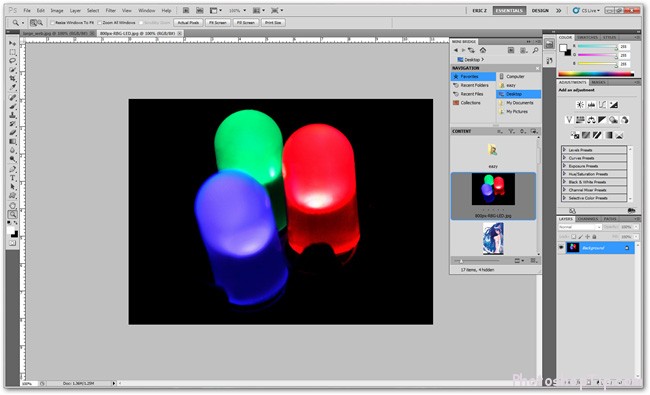
Browse in Mini Bridge: Mini bridge is a live version of Bridge censored in Photoshop that is easy to use and does not take much time to download.

Open as: There seem to be a feature having problem (that is easy to be broken down). The innovation from the manufacturer is to open another file like PSD in form of image file.
Open as smart object: Creating one smart object is pretty easy that need opening it only. The size change and editing Smart object do not affect the original file so that you can set up a plan to modify dimension of one unit for several times that you can open in SMART OBJECT.
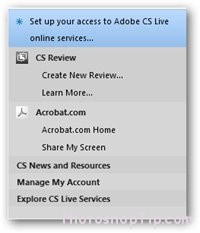
Share my screen and Create new review: These are features of Adobe CS Live that is provided to the one that register copyright and have got an account on Adobe.com.
Device Central: This is a secluded program for supporting applications of cellphones as well as smartphone.

Save for Web and Devices: A series of applications are used for compressing files in the form of JPG,GIF,PNG or any format WBMP accordance to submitting on website . Under this circumstance, Devices is used for smartphones.
Revert: Reloading file in the latest saving time. You will mislay changes and History when doing this manipulation. However, this is beneficial to some certain circumstance.
Place: Inserting a new file into opening one is allowing you to change the dimension and edit image as a Smart Object.
Automate and Scripts: This option helps user to implement quickly. Script is an interesting feature and deserves experiencing, even the beginner.
3 Menu Edit: This is a transparent menu going with the most convenient features in Photoshop.
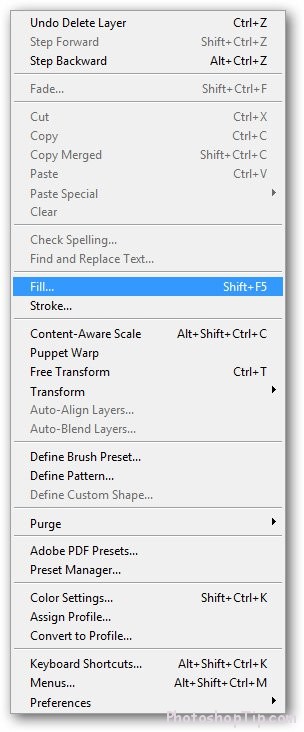
Undo, Step forward, Step backward: Undo is prevalent option that is frequently used in current programs. Step forward and step backward is to move around above steps on Panel History. This is simple way to use History Panel.
Cut, Copy and Copy Merged: You might be familiar with using Cut, Copy or Paste on menu Edit (from popular program like MS Word). Copy Merge is useful option that enables you to copy a multi-layer file as if it was a merged one.
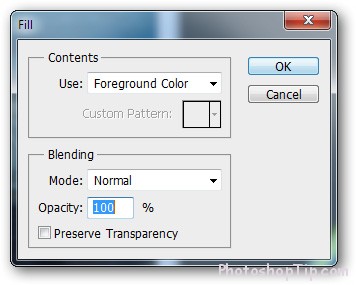
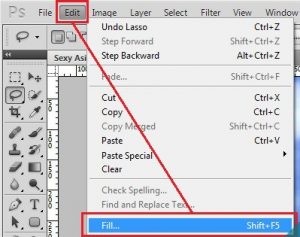
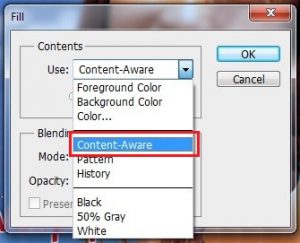
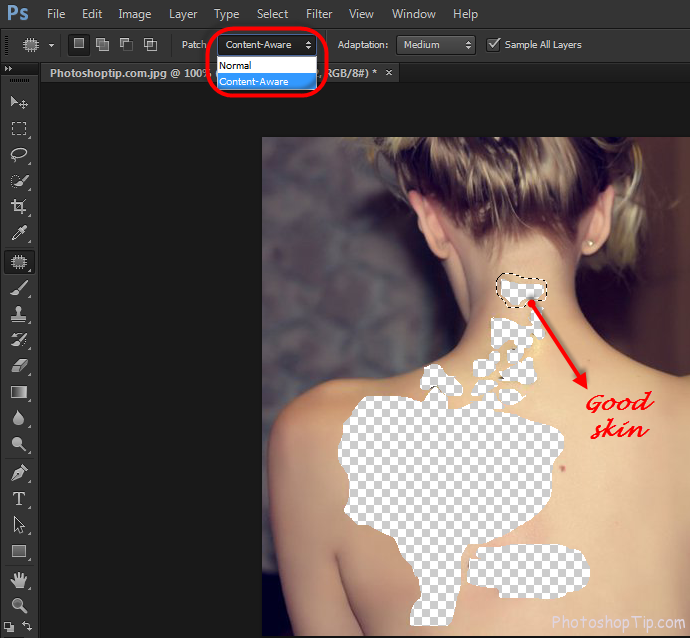
Fill: This tool is regularly skipped even it is a pretty useful one. Fill will help you to fill in a selected area, a layer or a channel in foreground or background, in white, black or main color of content of the image. CS6 has a way to fill image that is similar to recreating a part of picture by surrounding objects.

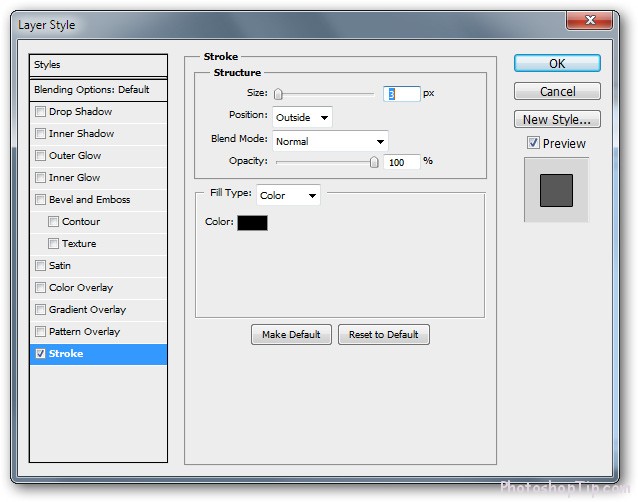
Stroke: Create a border surrounding selected object with any color that you used. You are able to adjust the width of border or choose created border is inner border, middle or outer of object.


Content Aware Scale: Using similar tool like in Content Aware Fill with sphere of picture. You can edit the dimension of object with this feature.
Puppet Warp: This is a complicated feature on CS6, it allows user to distort image in complex way.

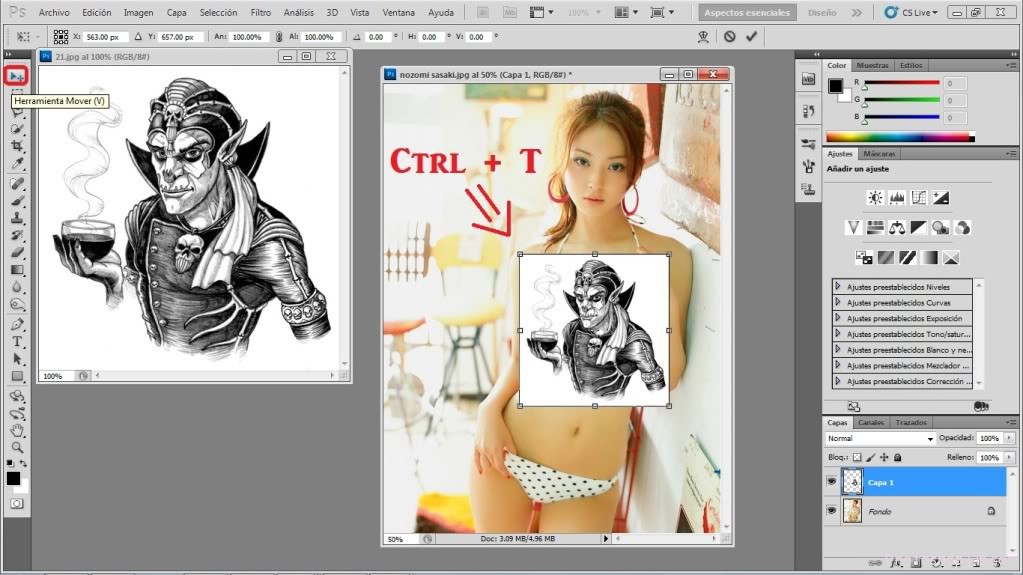
Transform and Free Transform: This is a useful tool is used for changing dimension of a picture, edit and create points that can distort image. (if needed).
Keyboard shortcuts: This menu enable user to edit and stick to some shortcuts for each tool on Menu in PS. It is extremely useful for user is getting used for shortcuts.
Menu: allow users to edit toolbar, hide the feature that they do not like or never use or even underline the ones that are necessary.

Preferences: Consisting of several issues that you need to edit in PS.
4. Menu Image.
It allows you to transform the width of color, image and other features. What are they?

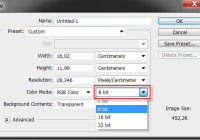
Mode: This mode of color that you can form like RBG or CMYK, like some sort of bit such as Lab or Indexed. You should not use any sort excluded RGB in case you are extremely concern about the format of images and digital ones.
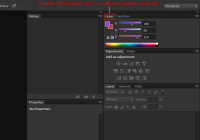
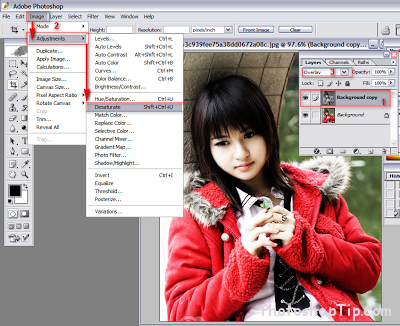
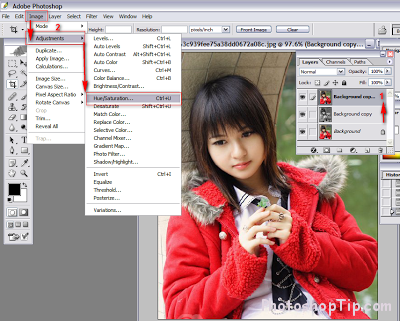
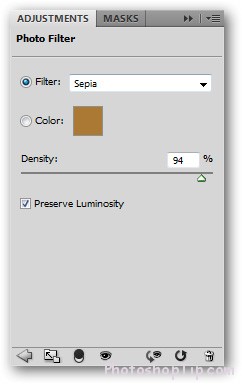
Adjustments: This is an auxiliary menu with different parts like adjusting Brightness, Contrast, Levels, Curves, as well Hue/Saturation. There is a series of options:

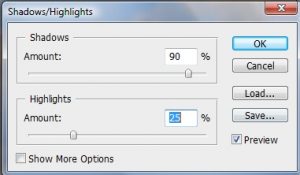
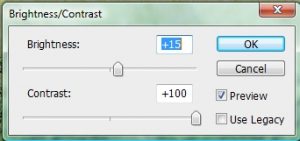
• Brightness/Contrast: This is basic part to adjust contrast light/dark in the picture that useful tool and is easy to use for the beginners.
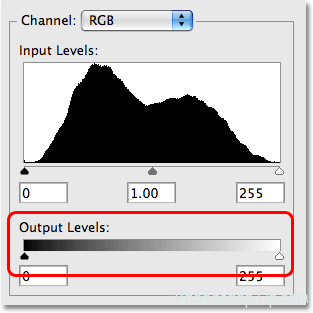
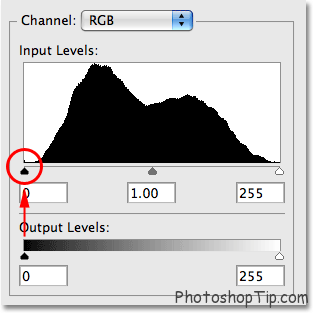
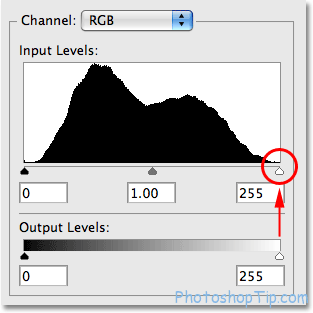
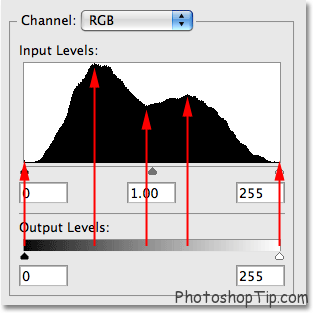
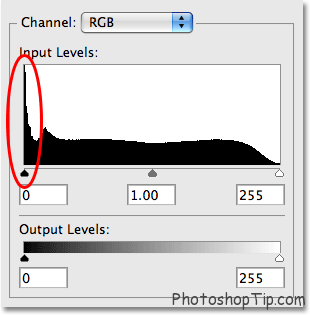
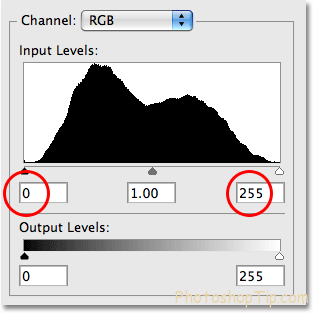
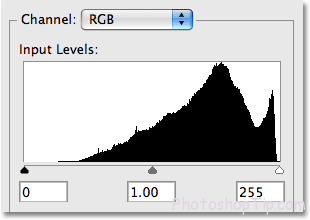
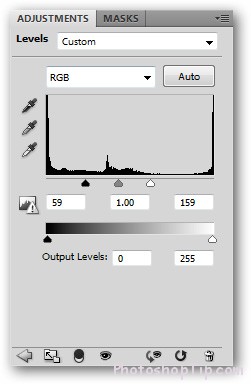
• Levels : It is a option that give you a domain of contrast value in the picture:
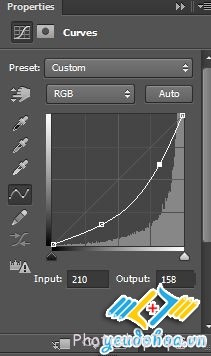
• Curves: It can adjust the value and complicated channels, it allows user to adjust value, with the object to the accuracy. This is a frequent feature that the professional select.
• Exposure: It also can adjust the contrast of the picture. This option is the choice of digital photographer.
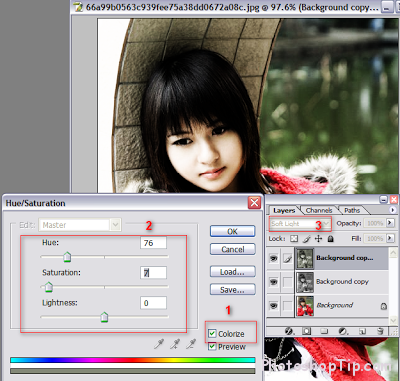
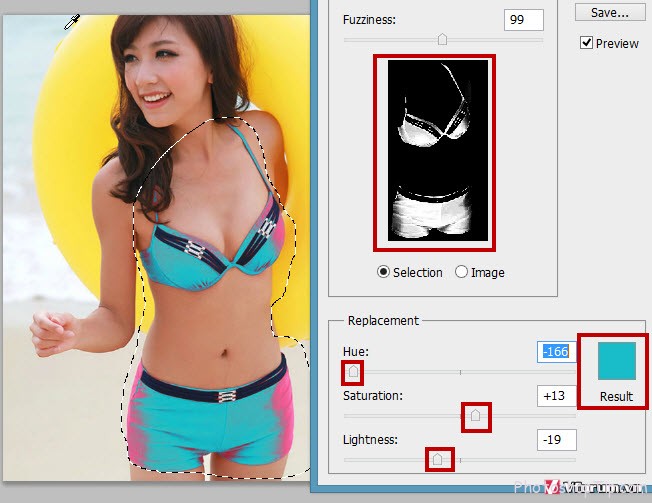
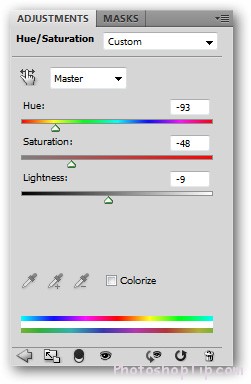
• Hue/Saturation: Adjust the color of the picture as well as the freshness and the liveliness of picture.
• Invert: Invert black and white of the picture. All the colors are popped up in the contrast of current pigment.
• Posterize: This is the filter blurring the color to the basic pigments.
• Threshold: This is another color filter that transform image to basic color is black or white, completely not grey.
Auto Tone, Auto contrast, auto color: Photoshop helps the user to automatically improve the quality of picture through altering Tones, Contrast, Color. It is suggested from Photoshop Elements (basic option), this is the tool for the beginners.
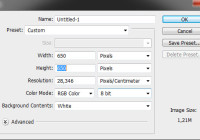
Image size: There should not be misunderstanding with Canvas Size because it is likely to alter the dimension of the overall file.

Canvas size: Increase the surrounding space of the image.
Image Rotation L Rotate image in angle of 90 or 180, besides user can choose the angle of the image by selecting Arbitrary.
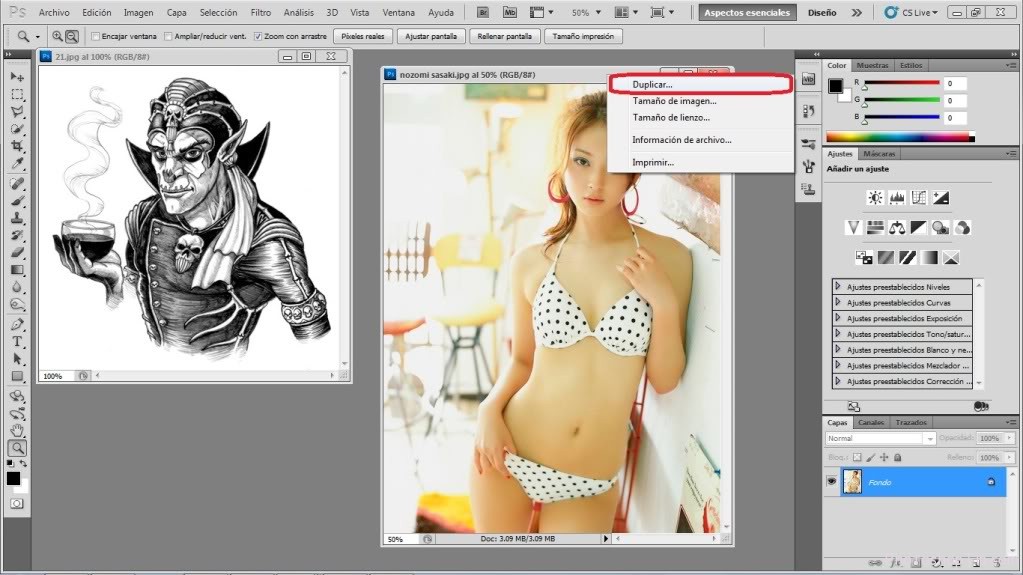
Duplicate: Create a duplicate image file of current one. There is no History as edited.
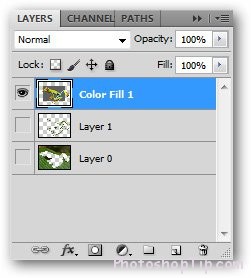
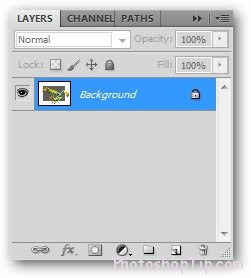
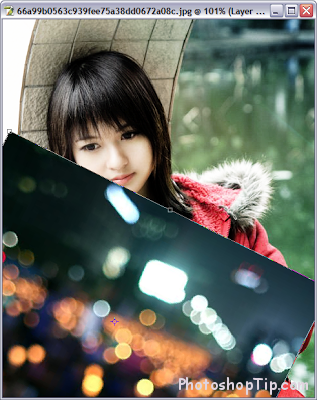
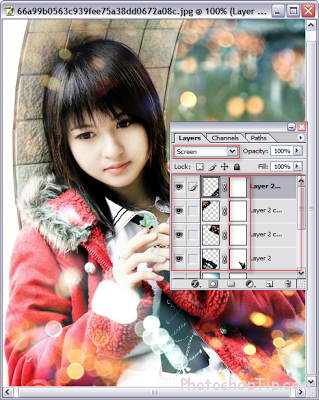
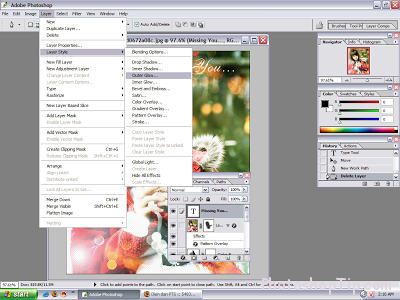
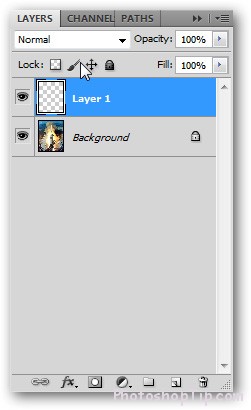
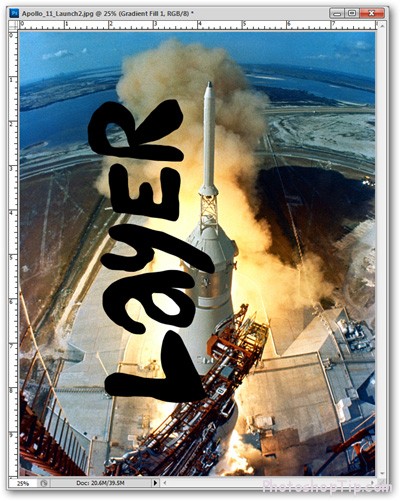
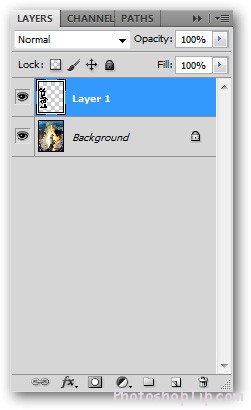
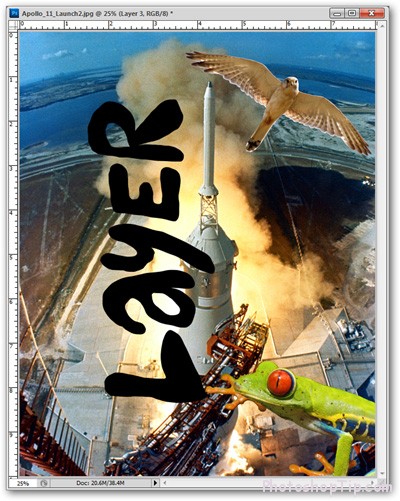
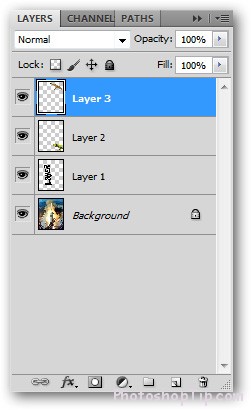
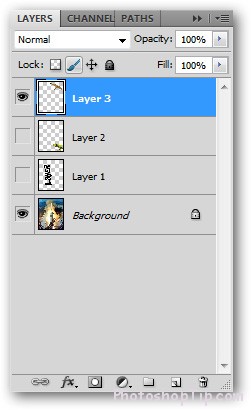
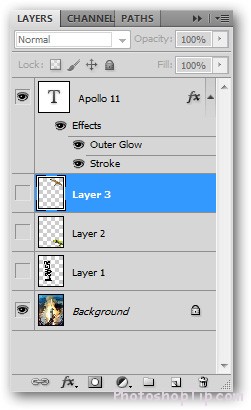
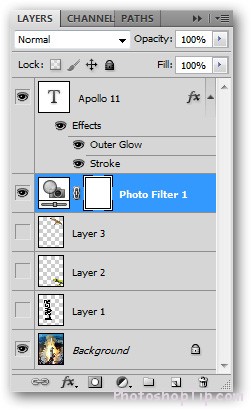
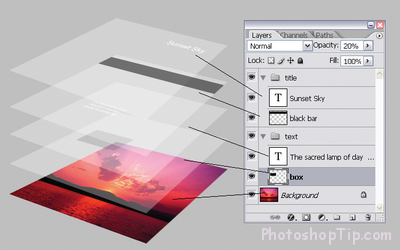
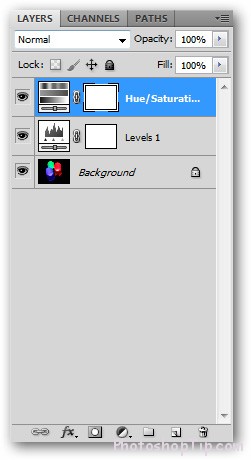
5. Menu layer:
This is where manipulation works with the layers of object. Menu layer offer a wide variety of auxiliary menu and complicated options. You can look back on Part 3 of this guide book.

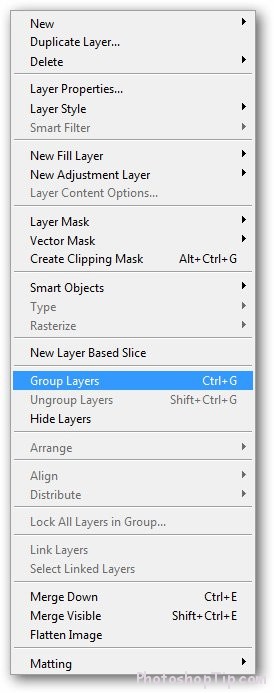
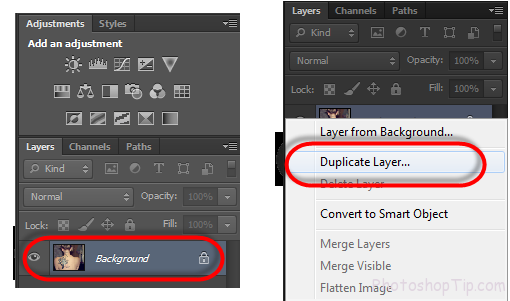
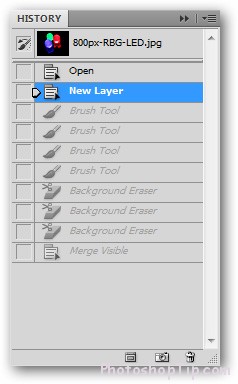
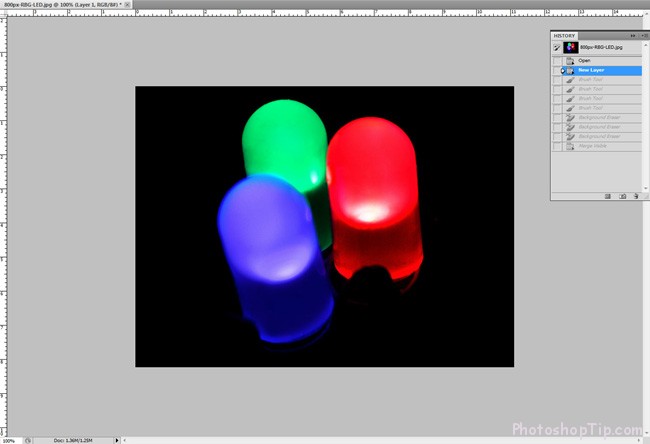
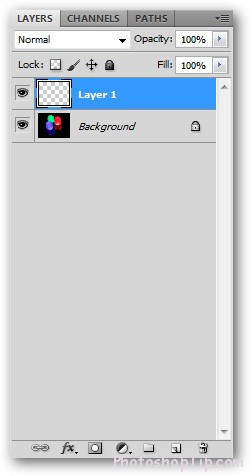
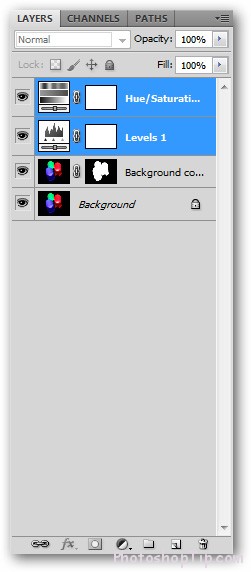
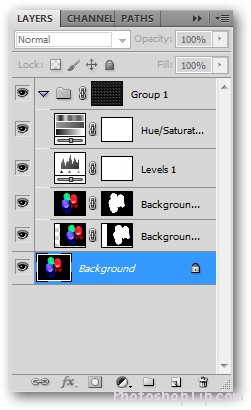
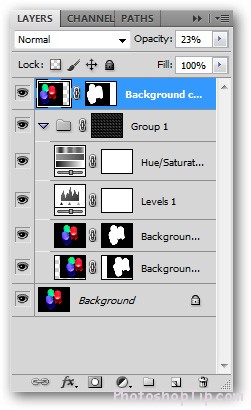
• New: These auxiliary menus allow user generate the new layer as well as options to change available layer into Background one ( if needed). You can gather all the layers into one group (selecting multi layers by Shift or Ctrl- similarly the other manipulations in the folder). This option will create “folder” stored the selected layers to create group.
• Duplicate layer: allow user to create the duplicate of selected layer and save in the correct opening file or create an brand new one.
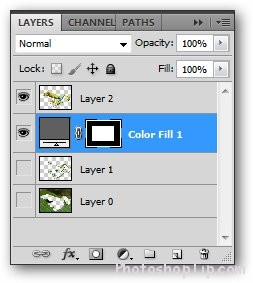
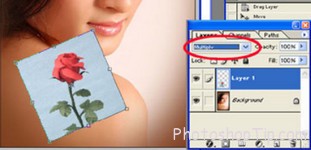
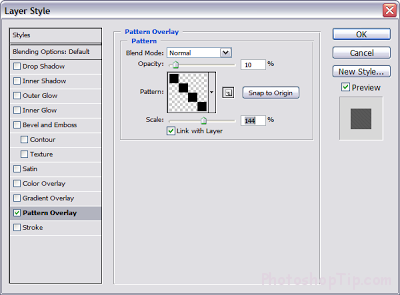
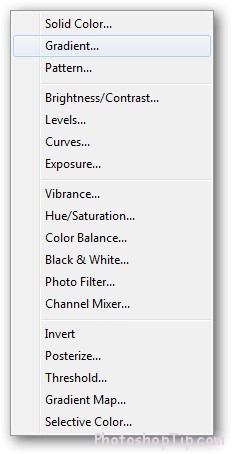
• New Fill Layer/ New Adjustment Layer: Creating 2 types of colors that can be covered on current layer. You can choose 2 new layers easily to create a lively picture.
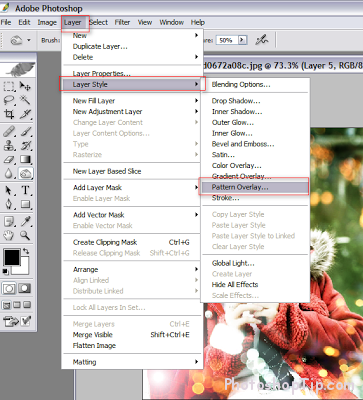
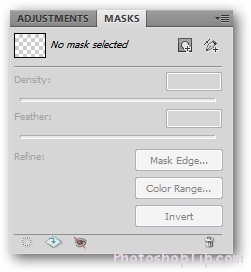
• Layer mask/Vector Mask This tool can filter or thrust one part of layer (or all) is running. There exists pretty difference between 2 types of Mask is to vector and to spot of image.
• Clipping Mask: This is a complicated feature, it can be located one layer or a group of layer to be transparent to the below one.
• Group Layers/Hide Layers: The number of layers can be selected in Panel Layers and can be narrowed / hidden in this menu.
• Align/Distribute: This tool can help you to arrange the layers in working space/image space. You are able to drag the object to be middle or to create the same space among object easily.
• Merge Down: Combine the available layers (or the group) with the below ones.
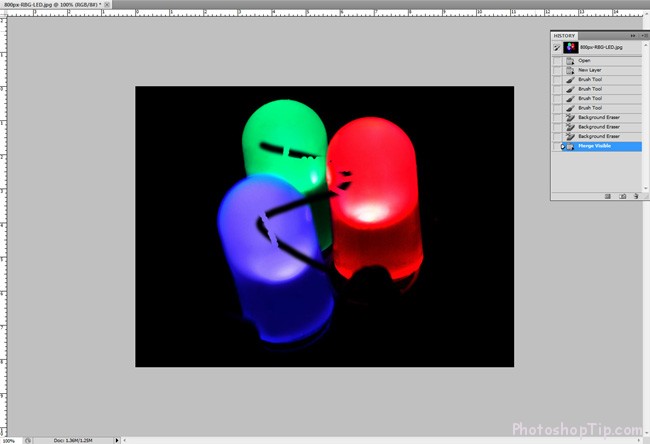
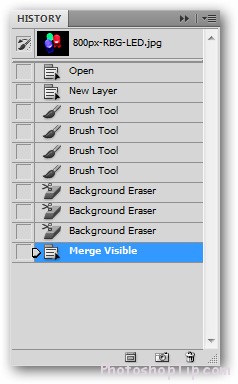
• Merge Visible/ Flatten Image: Combine all layers in your file. Merge visible will skip all the hidden layers in Panel Layers, while Flatten Image will eliminate them completely. Merge Visible will create transparence besides the image layers combined, regarding Flatten Image will create a layer of background according to the color that you selected in background color.


6. The other important menus:
The remaining of menu in Photoshop is rather complicated for the beginner.
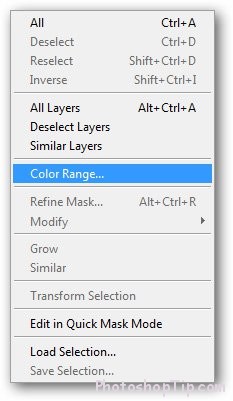
Menu Select: This menu go with these tools like Marquee, Lasso and Wand on Panel layers. Select all, deselect and reselect are object orienting tool. When you are selecting one part of object, Invert will have invert your selection that means the selected originally will not be selected and vice versa. You also can choose all the layers from toolbar in this menu, otherwise you can adjust from auxiliary menu Modify. Option Quick Mask is adjusted right in Menu Select.
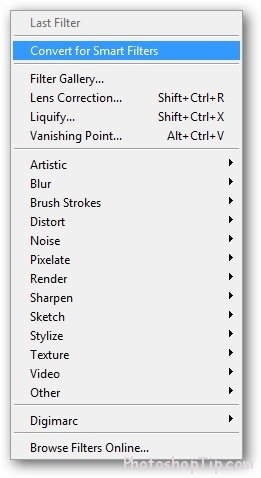
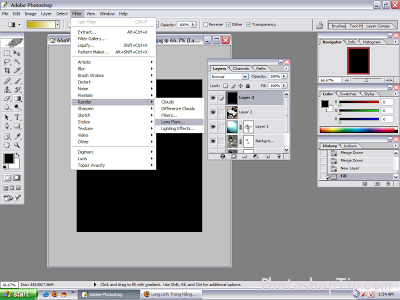
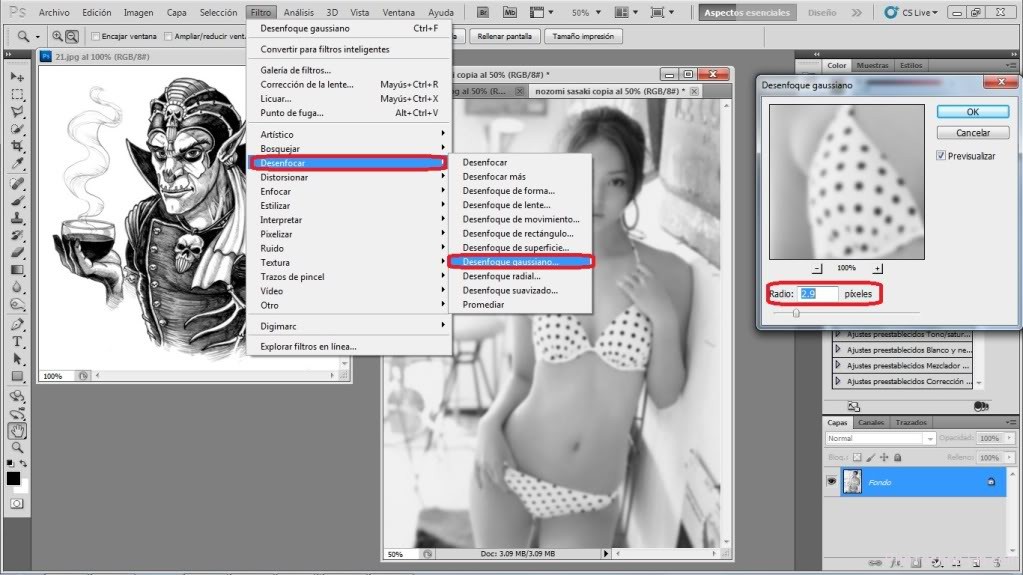
Menu Filter: This is library of available template for user Photoshop. Filter allows you to choose some types of deformation for picture. Some is helpful, some is not, which depends on the purposes of users. Filter plays an important role in PS and needs its own article to exploit all the library existing in this menu.
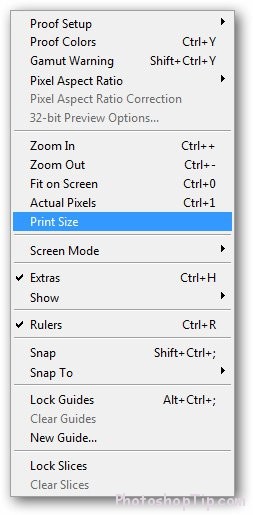
Menu View: is a menu consisting of so many components that seldom to use in PS like altering dimensions and shapes of spot image, besides including basic manipulations such as Zoom in, Zoom out. With menu Print Size, you can go through printed dimensions or rapidly zoom 100% with Actual pixels. In this menu, you also can turn off troublesome problems like Snap, Rulers as well as deleting Guides or Slices.
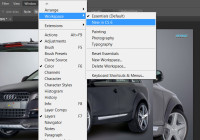
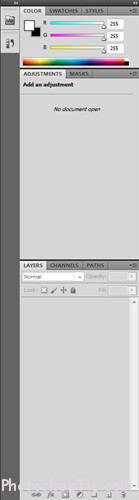
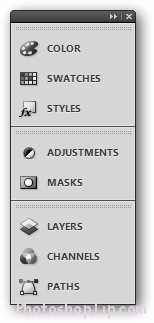
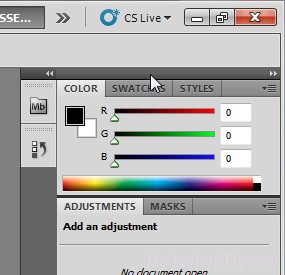
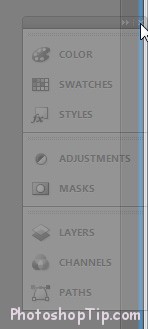
Menu Windows: This is menu for managing the showing or not showing of Panels, options and toolbox..on the screen.

Menu Help: This is the last but not least menu that contains basic information of an application. Therefore, you are able to inspect, get to know about the tool that you are not aware of well or information about version of software.


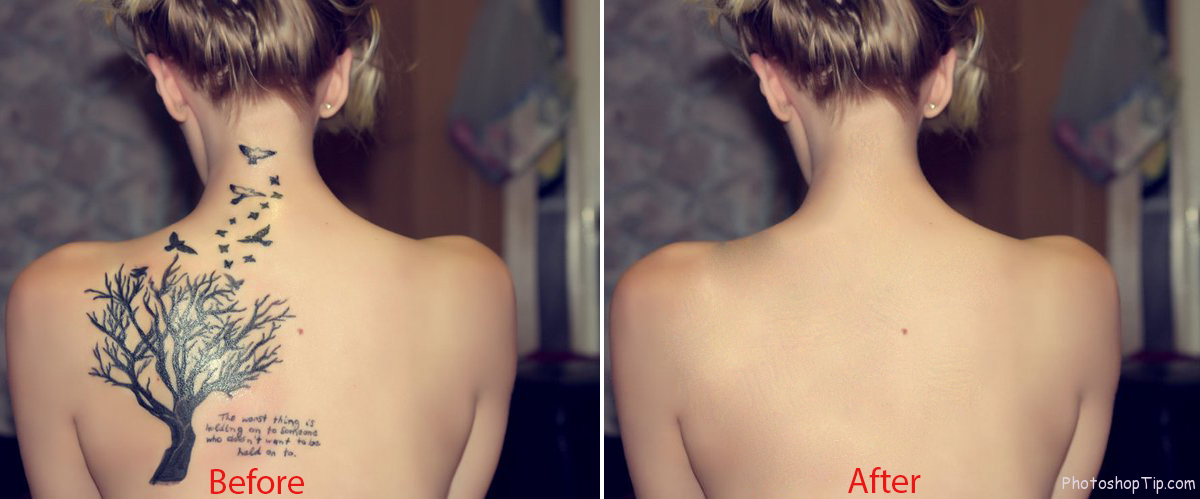
 Step 5:
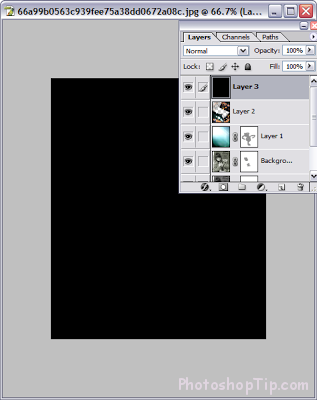


I enjoy reading through a post that will make men and women think. Also, thank you for allowing for me to comment!