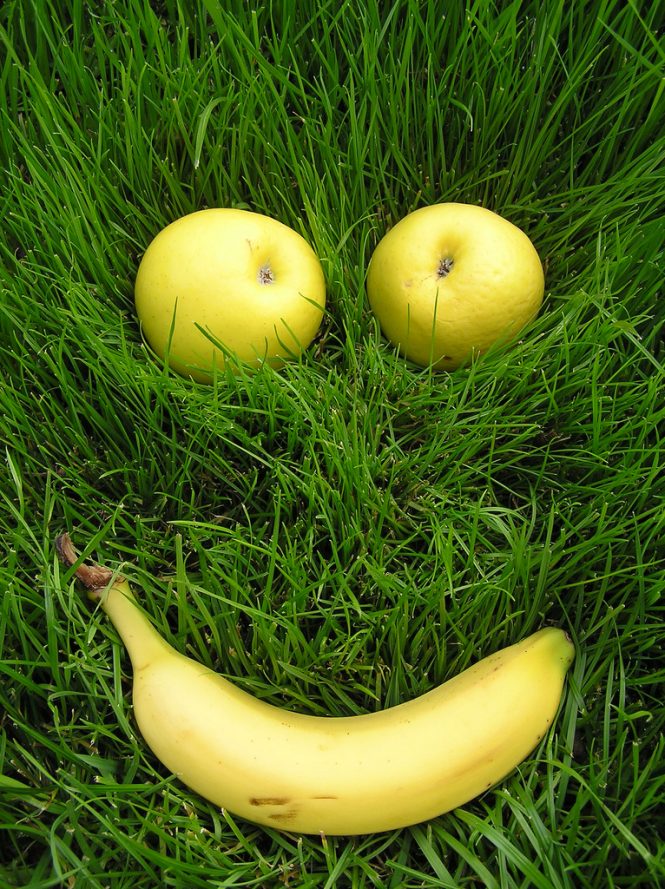
Adjustment layers in Photoshop is mixing colours freely but not destroying the way of fixing or changing your images. In this tutorial, I’ll show you various use of Adjustment layers.
1. Levels
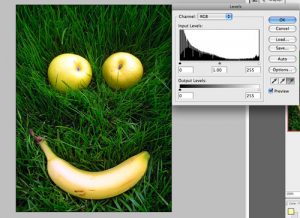
First, we begin with Levels (Layer -> New Adjustment layers -> Levels). We can adjust light or dark level of the image to make it remarkable.
2. Curves
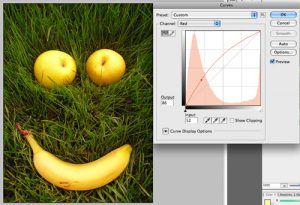
Curves table is not very different from Levels table. However, you can choose Red, Green or Blue as if you like to adjust light or dark color of your image. If you choose Red, adjust Input, Output (or move the cursor in the frame) to make the image better. Look at the image below, it is more classical. Regarding Green or Blue, we do similar acts as well.
3. Color balance
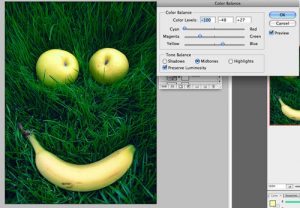
In this option, you can create colors according to your hobby. Color balance makes details in picture more remarkable and suitable for the scene.
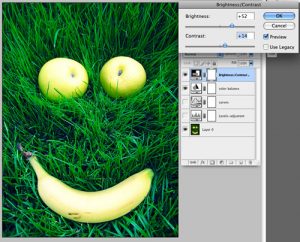
4. Brightness and Contrast
If the image seems to be dark, Brightness and Contrast will help us to improve the light in that darkness. Brightness adjusts the bright or dark level of the image, whereas Contrast adjusts image to make it more strong and sharp.
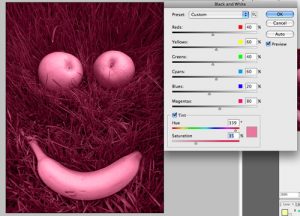
5. Black and White
Using Black and White adjustment will make your image have more shades and become novel image.
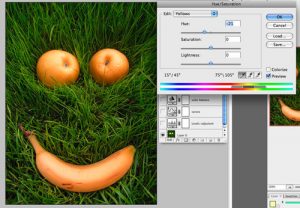
6. Hue/Saturation
Hue/Saturation adjustment allows you to identify and change a color. For example, we change color of the apples and banana. Choose yellow in Hue bar and adjust a little bit in Saturation bar, then the color of these fruits will be changed clearly.
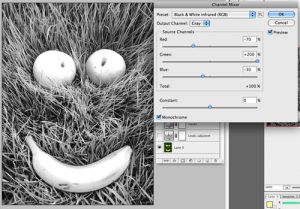
7. Channel Mixer
Channel Mixer in Adjustment has more choices of adjusting color, so it will help you create a nice picture( depend on your creativity)
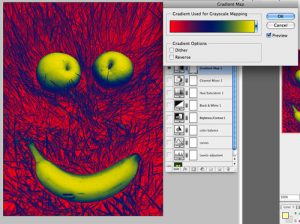
8. Gradient Map
The Gradient Map of Adjustment layers will adds subtle effects into your image to make it more wonderful.
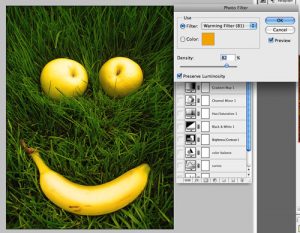
9. Photo Filter
The Photo Filter adjustment has various choice. In Filter, choose Warming Filter (81). The image will remove blue color. Instead, orange color will be added into it. On the contrary, if you choose the Cooling Filter, blue color will be added and orange color will be removed.
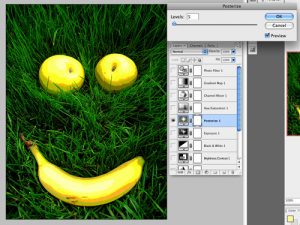
10. Posterize
The Posterize Adjustment allows you to adjust freely (move the cursor or adjust the number above from 1 to 255). This part is likely an effect that illustrates your image.
Overall, if you are not satisfied with any Adjustment Layers above, just turn off the eye or delete it (the Eye is in the left of the layer).

