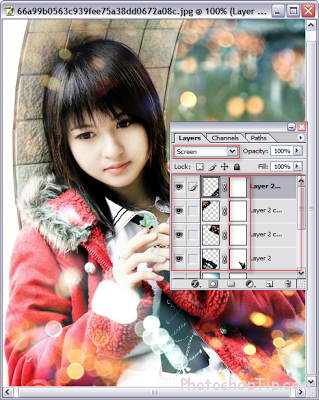
Texture a very simple but effective effect for blending image in Photoshop. It makes the photo shimmer, very suitable for teen style today. In particular, it also helps to create the Bokeh (the effect of taking pictures of DSLR),… In general, depending on the image and the style you want, there are different types of textures, from shimmering to horror. Essentially in this tutorial will guide how to use texture, gradient, pattern and text.
First, what you need is the material. You can download it here:
Step 1:
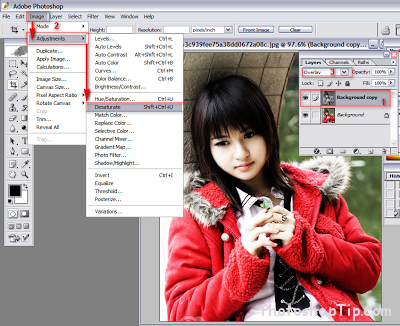
+ Press Ctrl + J to duplicate the background (1)
+ Convert image to black and white by pressing Ctrl + Shift + U or go to Image> Adjustments> Desaturate (2)
+ In the Blending mode switch to Overlay (3)
Step 2:
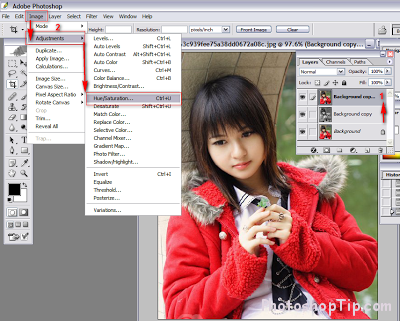
+ Select the background layer, continue to duplicate (press Ctrl + J) then drag to the top (1)
+ Go to Image > Adjustments > Hue/Saturation (or press Ctrl + U)
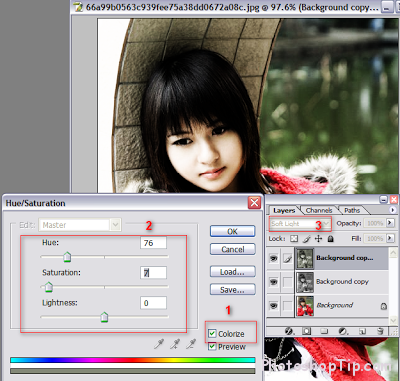
+ Set the parameters as shown below (note the red markers)
Step 3: Using Texture
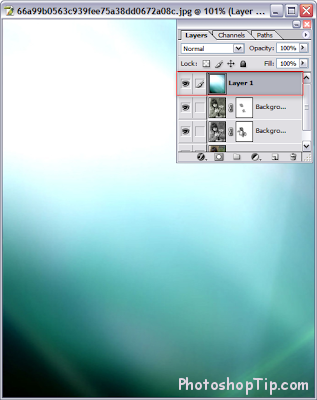
+ Download this image:
+ Open the image in Photoshop then press Ctrl + A (select entire image). Press the V key and move the texture onto the image. Attention is topmost position.
+ Set Blend mode is Soft light, create mask layer by clicking on the tick box as shown below (2) using soft black (3) paintbrush on the girl’s face. (The purpose is to lighten, make a rosy look on your face).
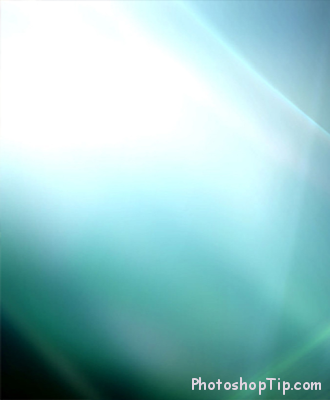
Step 4: Use second Texture
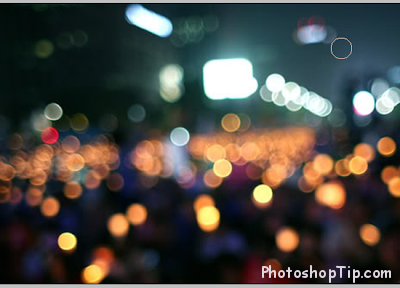
+ Download this image:
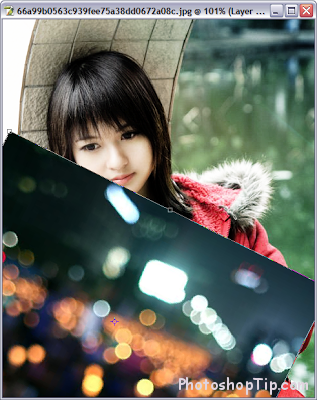
+ Open in Photoshop > Press Ctrl + A (select entire image). Press V key to move the image to the corrected image.
+ Press Ctrl + T to rotate the layer as shown below:
+ In the Blend Mode switch to Screen mode
+ Repeat the same steps above and place them in each corner
+ Create mask layer (like step 3) to remove unnecessary borders
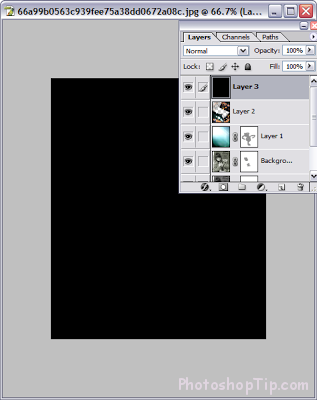
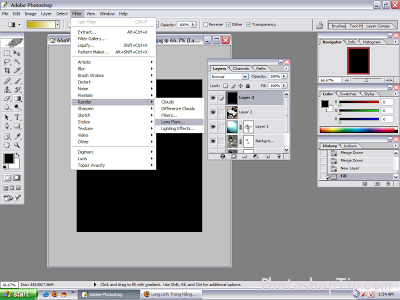
+ Create a new layer by pressing Ctrl + shift + N
+ Press Shift + F5. In the Use box select Black
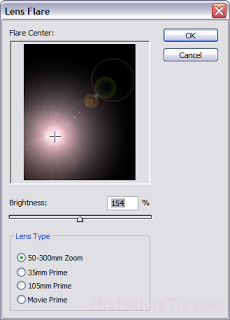
+ Go to Filter > Render > Len Flare
+ Set the parameters as shown:
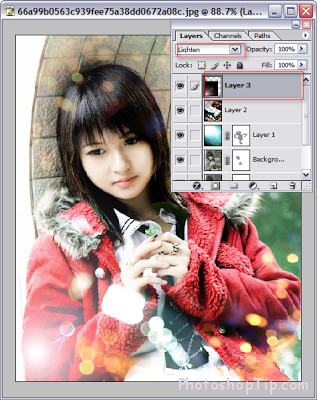
+ Use the V key to move the layer to the bottom left of the screen. Also set the blend mode to Lighten
Step 6: Use Gradient
+ On the toolbar, click the Gradient tool (or press G key)
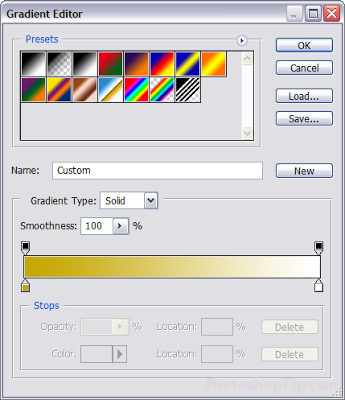
+ Double click on the Gradient box to display the Gradient or panel
+ Select the first color is #FCE700, the second color is #FFFFFF
+ Then drag from the upper right corner down. Set Blend mode to Soft light. The opacity is 48%
Step 7. Use Pattern
+ Press Ctrl + shift + N (to create new layer)
+ Press Ctrl + shift + Alt + E (to group all layers)
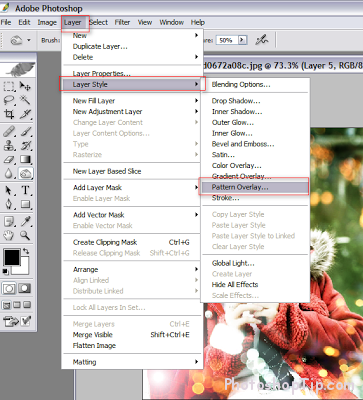
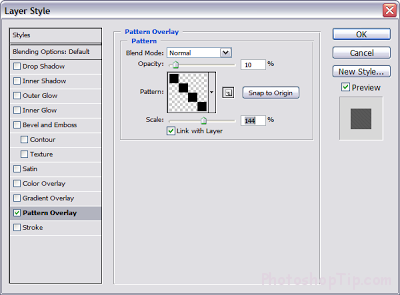
+ Set parameters as below:
+ Select the pattern you want to use (on how to use the pattern you can search more on Google, or wait for update later)
Step 8: Create text
+ On the keyboard, press the T key
+ Drag the arrow on the image to create a rectangle
+ Type your text here (I use VNI-Allegie font)
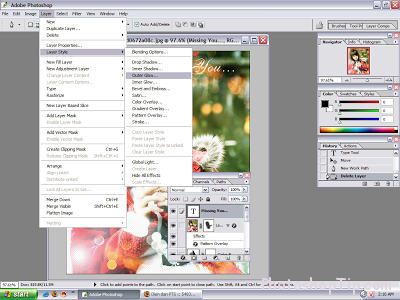
+ To make the text bright, you set the parameters as shown below:
Edit, blend a little more we get results:
Ready, I have some sample textures, you can download and use it offline!
Remember that the Texture file is a .jpeg image file and this file has a very big size, so when you download you can cut out a small part to add to your work.
OK, hopefully with this article, you can create your own shimmering self!

