I will show how to remove background and delete background an image in Photoshop. How can you erase the background picture with Photoshop or separate a subject from the image to get a separate image with an optional background picture. You may have joined your image to another background picture. In this article, I will use the image of a frog sitting on a leaf. The leaf in green is a complex background picture in terms of color. So how can we separate this frog from the image? After reading this article, you will know more about tools as well as how to erase complicated background pictures with Photoshop.
We will describe basic steps to erase background picture of the picture through a combination of familiar tools. For example, with Magic Eraser Tool, you can completely erase simple background pictures, but how would you do with more complex ones? In previous articles, I talked thoroughly about how to blend color in and Photoshop CC. ( In last post, I introduced “Instruction to quickly erasing background by Photoshop”
For instance, in the following picture
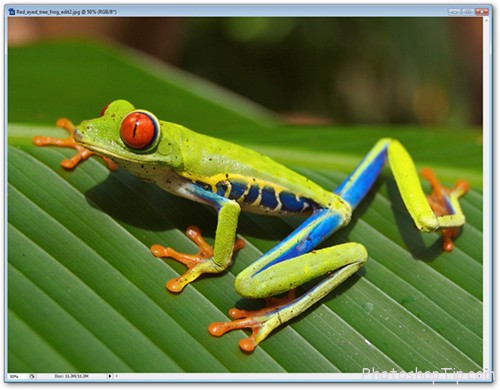
removing background with photoshop
First of all, you right-click on Background Layer in Layers Palette frame and select Layer from Background… :
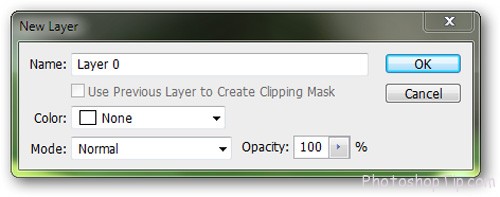
Layer from Background with Photoshop
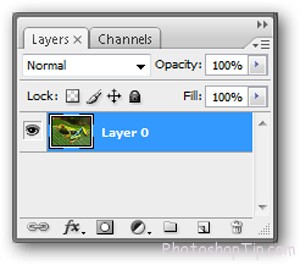
The program will automatically turn into Layer 0. Click on OK:
In Layers Palette, there is solely Layer 0. Click on L in order to select Lasso Tool. Recheck Control Palette on nearby vertical menu and adjust it so that it looks similar to the following image:

Lasso Tool in Photoshop
The most important thing here is to turn off Anti-Alias function, then proceed cutting along the edge of the image as following image:

cutting along the edge of the image
Don’t worry if your edge is too rough since we can readjust it in the next steps:
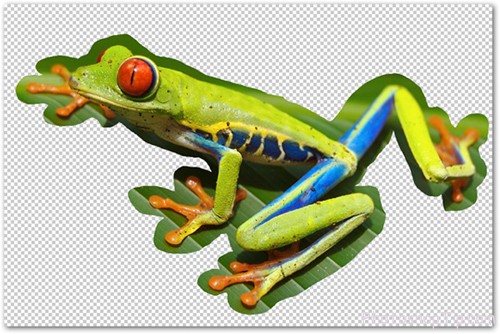
After finishing this step, you press a key combination of Ctrl + Shift + J in order to change the selected part into a new layer with Layer Via Cut. You can erase Layer 0 and only work on the new layer you have just created. Continue pressing E in order to select the erase tool, change the mode into Pencil and adjust parameters as the following image:

Layer Via Cut In Photoshop CS6
Next, carry on erasing obvious redundant details on the picture frame:
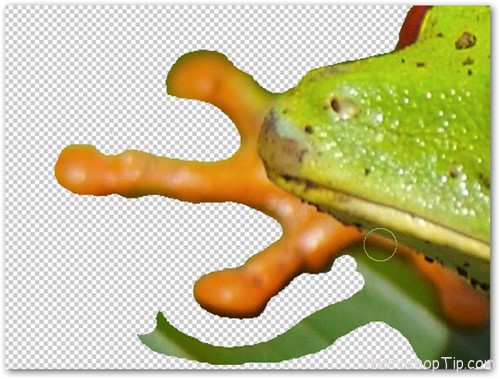
erasing obvious redundant details
Be careful with each movement in this step. Try to move your mouse smoothly and exactly. Select the parts near the image and avoid erasing adjacent lines of the main detail:
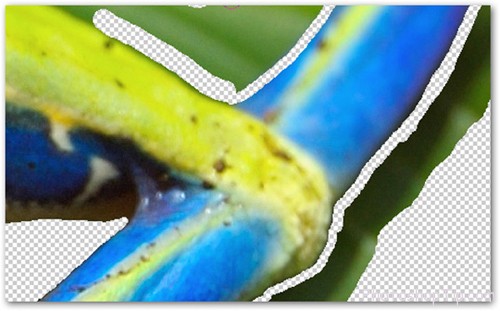
move your mouse smoothly and exactly
If you make a mistake, you can return to the previous step by pressing a key combination of Ctrl + Z or Ctrl + Alt + Z. After you finish this step, the image will be similar to the following image ( How to undo more in Photoshop CS6 )
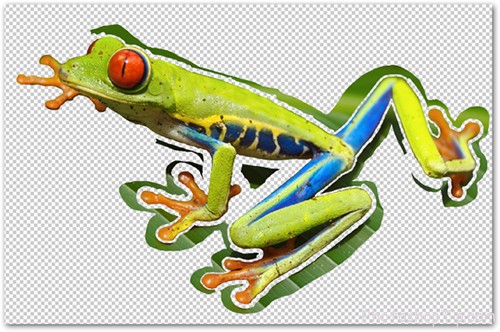
return to the previous step
It is unnecessary to erase all redundant details in this step. The important thing is to create the most precise border with the main detail of the processed image – here is the image of a frog. In order to quickly erase details of the outside part, press and keep Ctrl and select Layer 1:
Then press Delete in order to erase the selected outside part. Next, open Channels Palette table and select the symbol so as to create Alpha Channel:
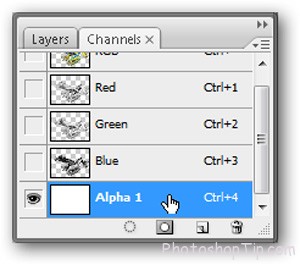
Alpha Channel in Photoshop
Select the new Alpha Channel part (usually known as Alpha 1), simultaneously the program displays the list of equivalent layers. Press Ctrl + 4 in RGV layer:
new Alpha Channel
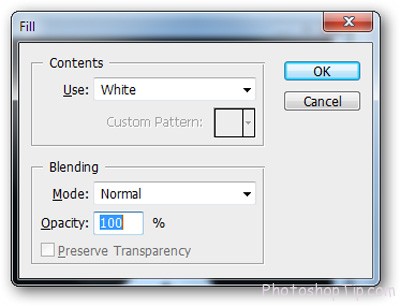
And select Edit > Fill, change the mode from Contents to Use: White and click on OK:
White and click on OK
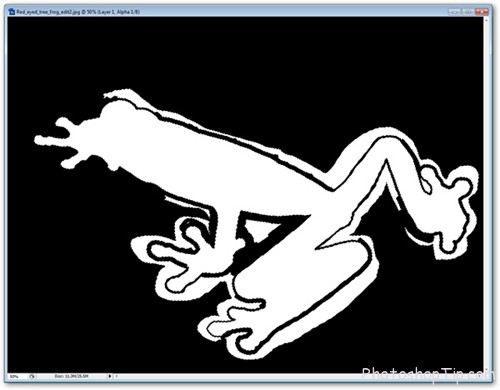
Then, Alpha chanel along with the selected outside area is covered with white color. Press Ctrl + D in order to leave the selected area. Next, press and keep Gradient Tool in order to display Contextual Menu; then select Paint Bucket Tool and change Foreground Color to Black:
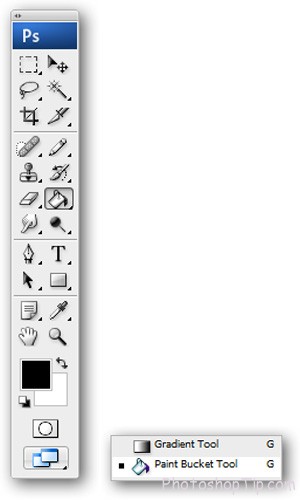
Paint Bucket Tool and change Foreground Color to Black
Select parts you do not want to fill with black color. Be careful with each detail:
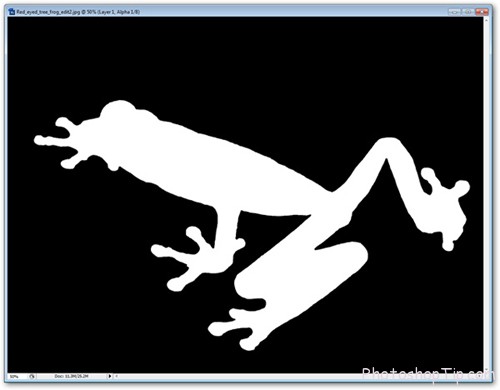
fill with black colo
Next, press Ctrl and select Alpha 1 Channel in order to select the new part you have just created:
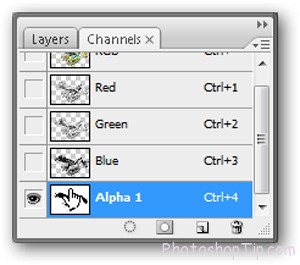
Alpha 1 Channel
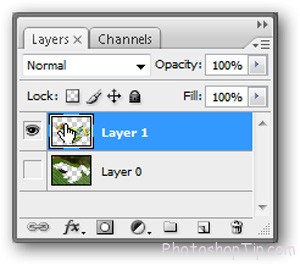
Then, press Ctrl + ~ in order to return to RGB layer, select Layers Palette and press Ctrl + Shift + J in order to move the picture to a new layer. You can erase the old layer or hide it:

Layers Palette in Photoshop
After this step is finished, the picture look like the following image:
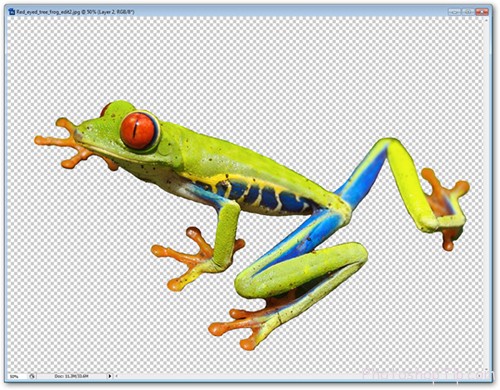
Delete background photoshop
We usually use the tool in order to adjust Color Fill and Adjustment Layer. It is useful for the elimination of small details that are mixed with the main picture. You can choose different background colors in order to recheck whether redundant details surrounding the main picture are available or not
Finshed
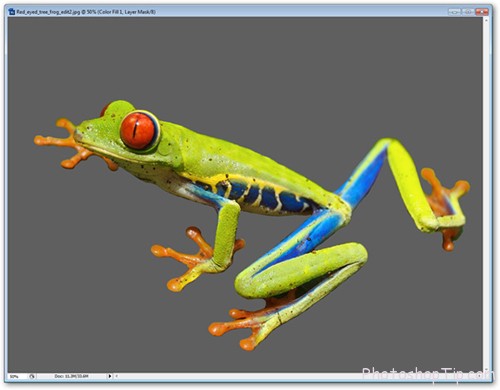
Erasing complicated background picture with Photoshop CS6 and Photoshop CC
Thanks for reading !
Have a good job !



Thanks for this awesome and simplified tutorial.
Thanks for reading my tutorial.
Why you had to download Winzip ?
It didn’t work for me. Just kept coming up as 7zip file so I had to download winzip And it was too messy.
Always, I’m thinking about using pen tool, because it gives us a quality result on such kind of works. but your tutorial is another hope for getting most efficient result in short time. Many thanks to you Hanna!