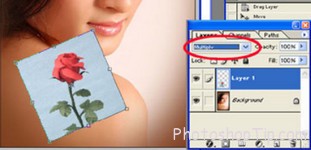
How to make a tattoo on your body in Photohsop CS6 ? In this tutorial, I will guide you make a tattoo easyly in Photoshop CS6 and Photoshop CC. Nowadays, tattoo has become an art and it is getting greater when you can cover your body with tattoos by yourself in order to enhance the artistry in your picture… I had tested in Photohsop CS6 and Photoshop CC.

Making a tattoo with Photoshop CS6
Or you simply want to see your work which is a Photoshop-processed picture in advance so that you will not waste so much time in repeatedly on amending it in the Photo store. If you want to have very original pictures highlighting your individual artistic style, let’s use this method.
HOW TO MAKE A TATTOO WITH PHOTOSHOP ( HOW TO ADD A TATTOO IN PHOTOSHOP ? )
Step 1: You choose a tattoo you like best. Open the Image file, you want to join image in Photoshop, (For example, I use the following illustrative image):

Open the Image file
Step 2: Drag the tattoo to the next image, then use Edit -> Free Transform (shortcut key is Ctrl + T). Adjust and turn the image so that it fits to the image in terms of size and angle as follow:
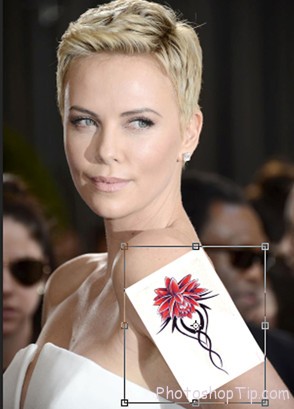
Drag the tattoo make tattoo in Photoshop CC
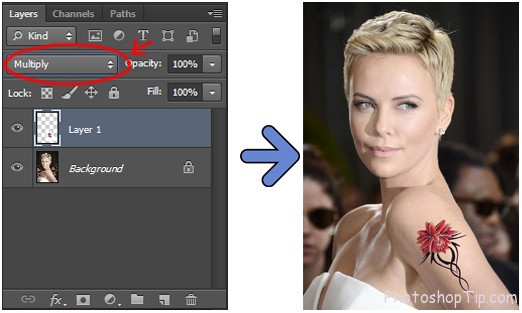
Step 3: Set up layer mode of the tattoo image in the Multiply mode as follow:
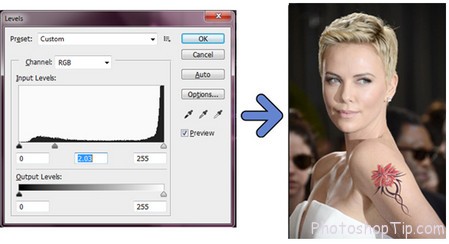
Step 4: On layer, the tattoo seems a little bold, so we need to adjust color so that the color of the tattoo corresponding to the skin color of the figure, which makes the finished product look more real. Here, I use the statement Image–> Adjustments –> levers (shortcut key is Ctrl + L). This step asks for an aesthetic purview.
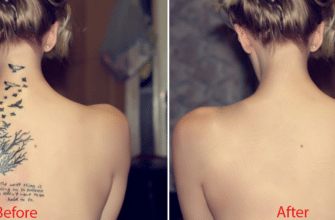
And finally, we achieve the following result:

How to make tattoo in Photohsop
In this article, we have just instructed you to cover the body with an artistic tattoo by using Photoshop. With some simple actions, you can create a picture enclosing an original and attractive tattoo on your own.
Thanks for reading !
Have a good job !
You can also see like article : How to add watermark or logo in Photoshop



I enjoy reading through a post that will make men and women think. Also, thank you for allowing for me to comment!