Option Overload: that’s one of the best things in Photoshop, and also the worst. Take a look at default panels to see which functions are needed for Photoshop usage, so you can find again.
See Part 1: Introduction on Toolbox in Adobe Photoshop CS6
The default panel is set at the right of Photoshop window. It contains useful settings for Photoshop beginners, you can adjust, hide or unhide them. Photoshop space can be widened for your comfort in working when you hide panel bars.
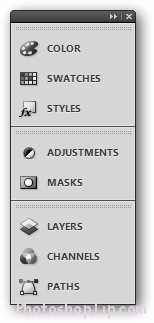
The default setting of the panels in Essentials is as follows: Apart from Essentials window, you can choose other frames such as Design, 3D… by clicking to have more options. Besides, to restore panels in each frame, you can choose Reset in context menu when clicking
to have more options. Besides, to restore panels in each frame, you can choose Reset in context menu when clicking
.
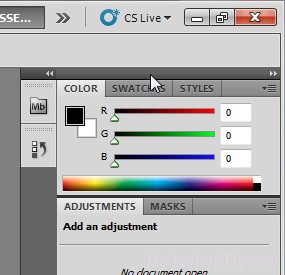
Panels can be gathered by clicking
in the upper right of the panel.
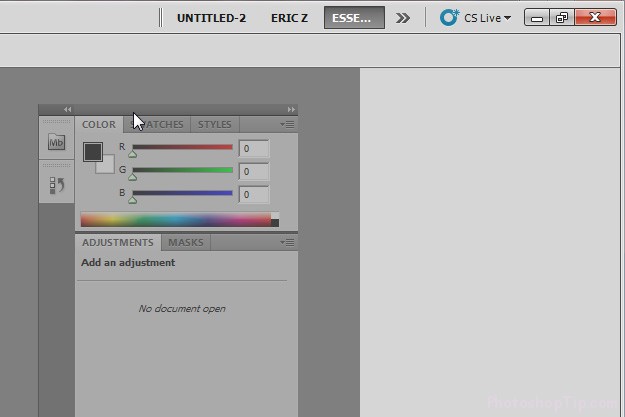
You can drag panel to any position convenient for use by clicking and dragging equivalent panel out of its set position.
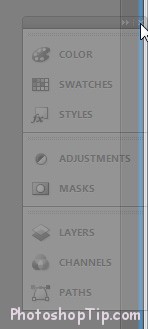
Obviously panels can be reset to the initial position by dragging next to the right side of Photoshop window, until a blue bar appears at the right of the window.
Default panels:
There are several default panels in Essentials frame which are displayed at the top (beside menu Help)
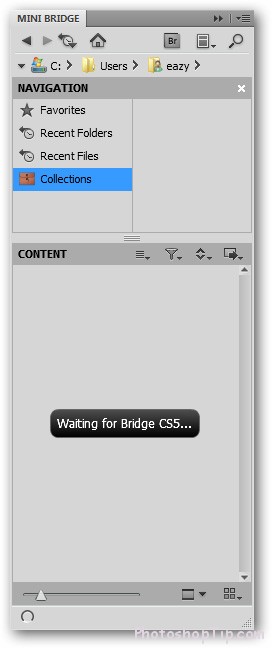
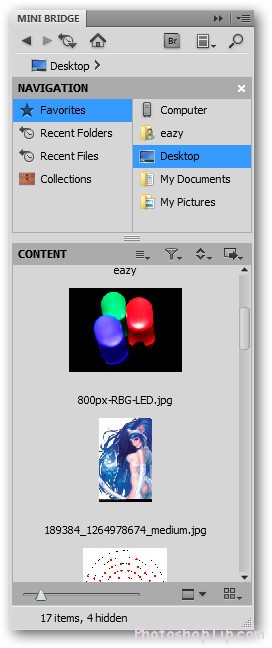
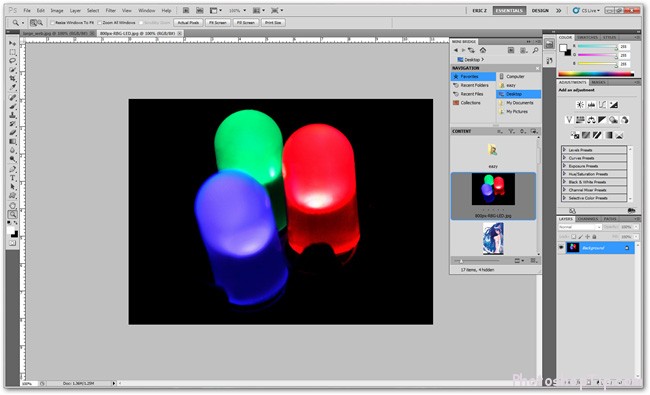
Mini Bridge: Adobe Bridge is a file image browsing program similar to Faststone, XnView or Google Picasa. CS6 integrated a small Bridge version for simpler virtual browser through panel. This is really useful and helps you save much time in image management.
Virtual browser of image folders in Photoshop is very helpful. Bridge loads only when you open panel and choose Start Browsing. Intuitive tools will direct to computer folders; important and frequently-used files/folders can be added to Favorites for fast-access when necessary.
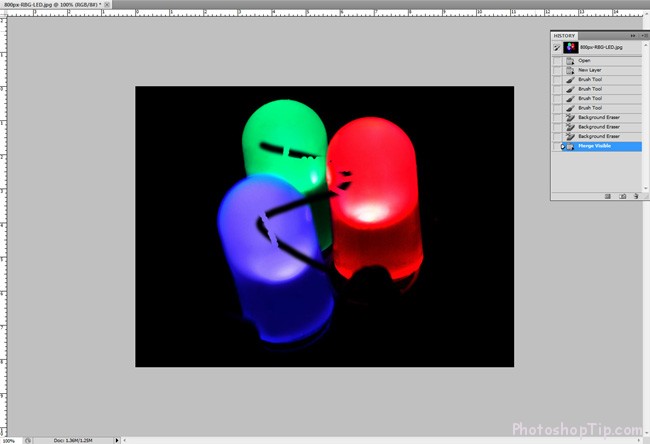
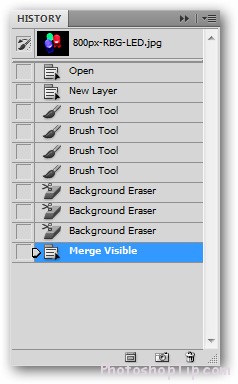
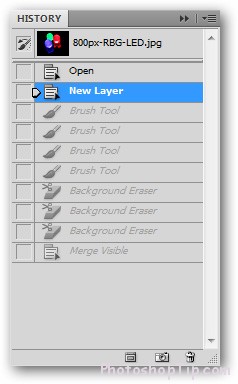
History: this is one of the most important functions in Photoshop. History allows users to undo many levels of the done work.
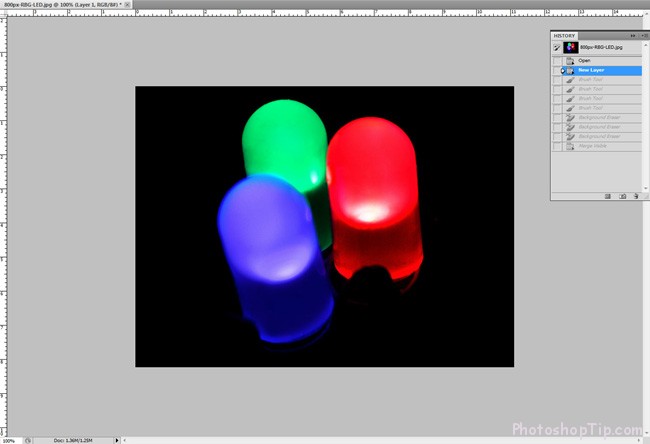
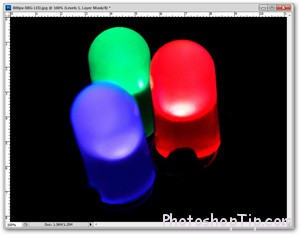
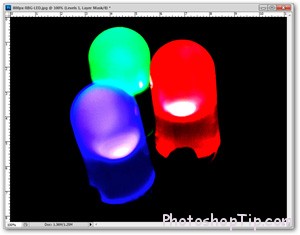
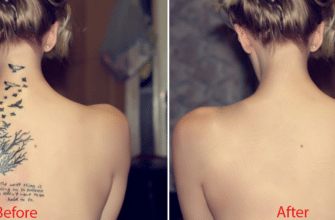
As you can see in below images, the left one is the things done to the image, the right is the undo of almost all those things.
With panel History, you can call back the latest practices done to the image or even restore the original image (in case the image is not edited as you expect) by clicking the top of the panel History.
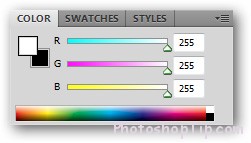
Color: this is a simple panel, it’s the color you set for foreground and background
You can adjust the value of Red, Green và Blue from 0 to 255. The higher the value, the brighter the color and vice versa. Besides, you can choose colors from the color bar below the panel, it seems easier to choose.
Additionally, you can customize other color selections by
and set slider for various color schemes.
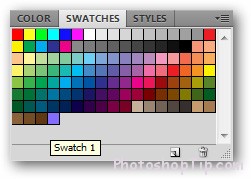
Swatches: a saved color board. It is such an interesting resources for beginners and even for experts.
By default, CS6 saves 122 main colors for your usage.
You can create a new swatch from foreground color by clicking and choose “New Swatch”
The color you choose to save will be displayed in Swatch.
Styles: is the panel of saved Layer Effects, Styles can be an interesting format for beginners and helpful to experts to save time in re-using popular layer format.
Simply you just click into any default styles to quickly re-use later. If you do not want to choose any formats for layer, adjust them manually or click
to remove layer effects totally.
Many default effects
You can see more available formats by clicking into
to choose.
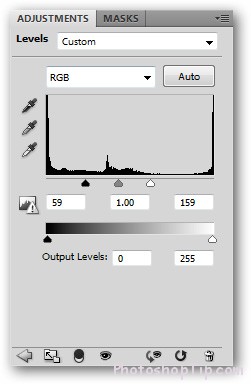
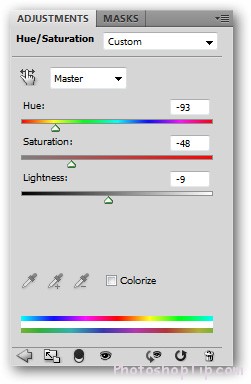
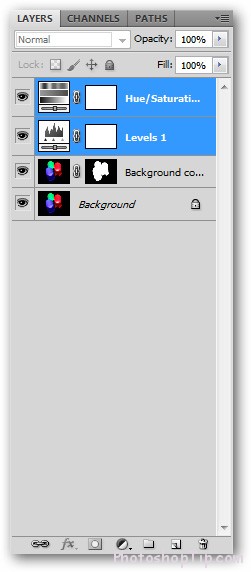
Adjustments: this is an adjustment panel creating layers to make your image more lively and beautiful. You can use functions Hue/Saturation, Contrast or Levels for your images. These functions are actually creating a new layer onto your image and all adjustments are done to this new layer.
Click “Levels” to automatically create a new layer adjustment.
You’ll see slide-bar options to adjust the contrast of the image.
You can Undo these changes without using History or other Undo functions, just remove created adjustment layers.
Many adjustment layers can be created at the same time and if you want to use any adjustment layer, you just need to hide others ‘cause they are separate layers.
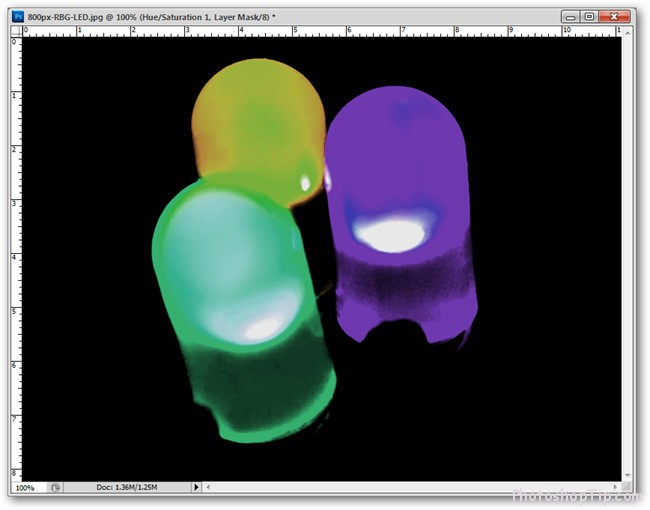
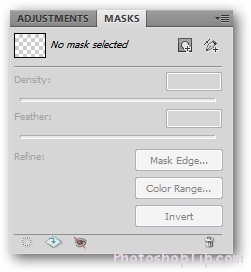
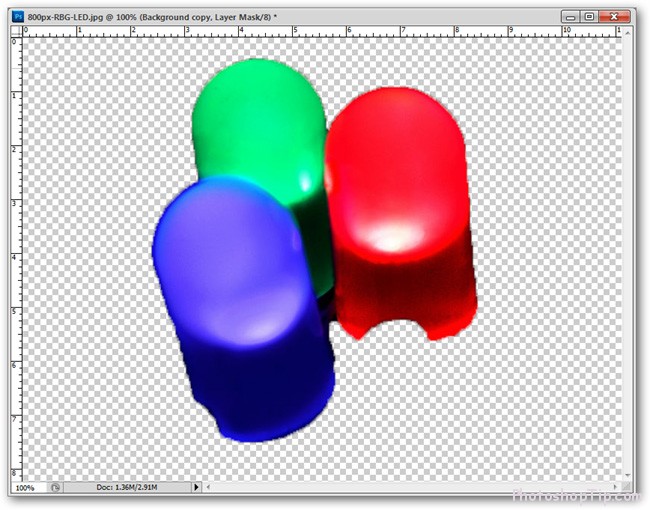
Panel Mask is a unique function in CS6, which helps beginners remove background from images without a sweat.
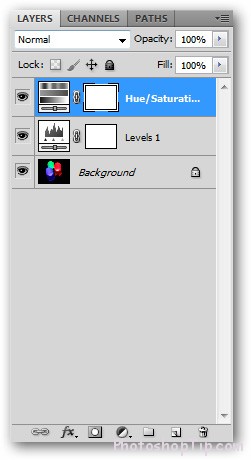
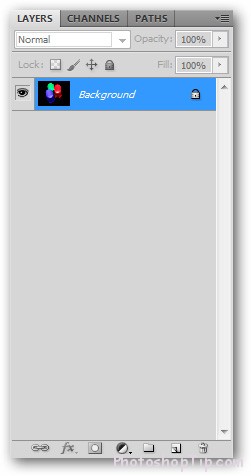
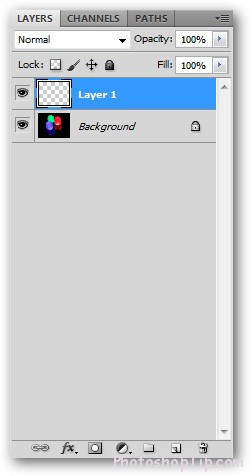
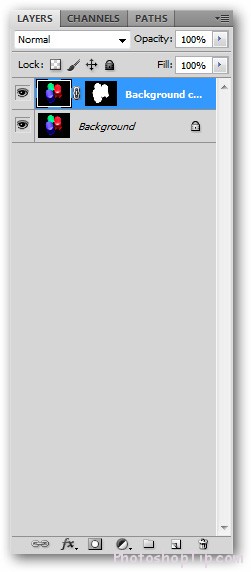
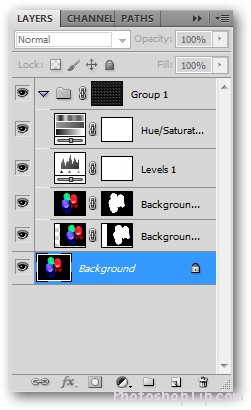
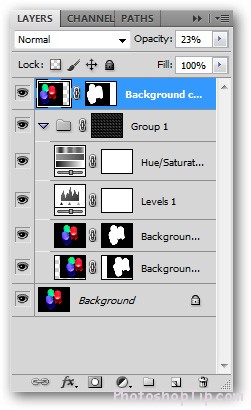
Layers: Layer is a standard function of Photoshop, which allows users to create 2D images from many adjustable parts.
A new artistic adjustment layer can make an image more beautiful (or ugly) without effects to the original image layer.
A layer can be copied, masked, etc… Adjustments for layers are also created and managed in this panel Layers.
Layers are stacked together to create perfect images
Opacity and Blending modes are also managed in this panel. Images edited by layers can bring back abundant images and are easier for re-editing.
Channels: Digital images display colors in accordance with the combination of basic colors, which are displayed independently in panel Channels in Photoshop. Beginners can skip this panel.
If you concern about using Channels, remember to save the image before testing.
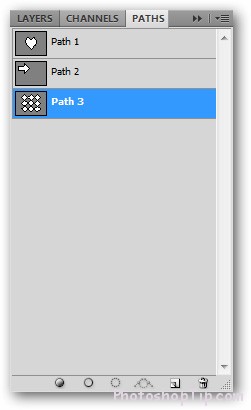
Paths: this is a rather complicated part in Photoshop, which are mainly based vector (similar to Illustrator). Vector is actually not hard to understand but Pen tool is, and Pen tool is a bit disturbing to new users.
Good luck!


