Photoshop is one of the best photo editing tools with the eye-catching interface and a series of “awesome” utilities. However, everyone is not understands and uses all of its functionality, especially for beginners. In this article, let’s take a brief look at the terms and functions that you are most likely to use in Photoshop.
- Blending Mode
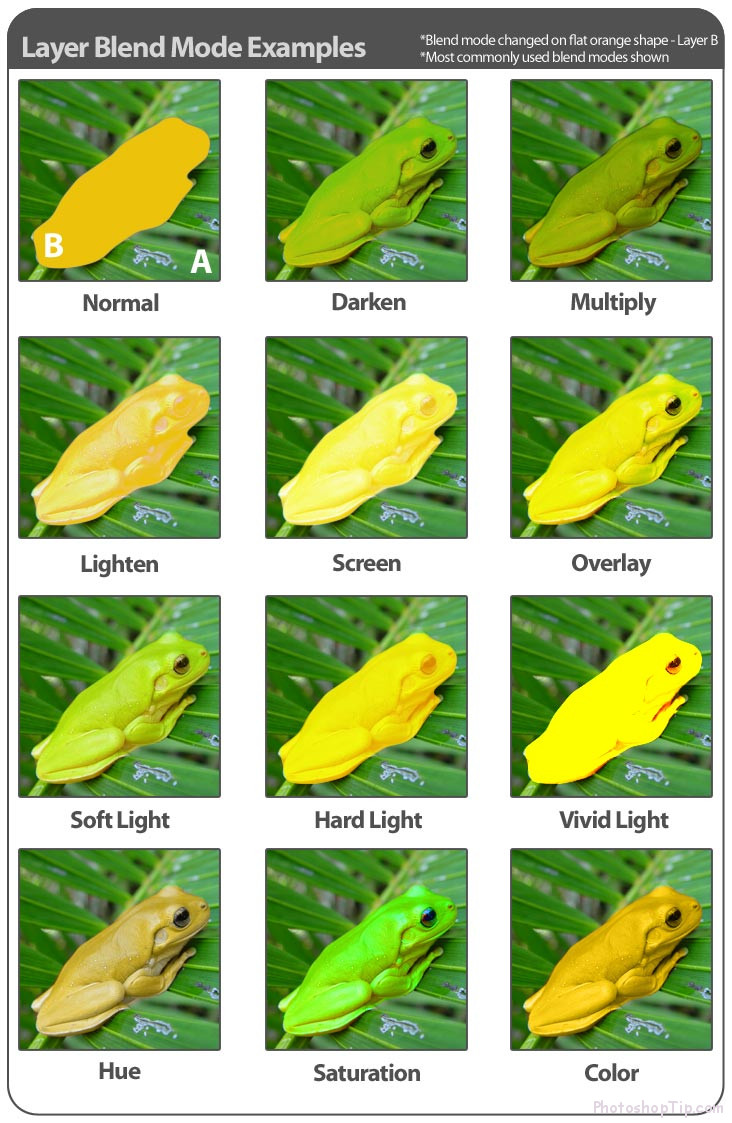
As the name implies, you can use the Blending mode to “blend” different layers to create unique effects.
Understand that base color is the color in the original image. The color you want to apply to your image is blend color. The blend mode has been selected and applies the correction, this is called the result color.
- Brush Tool
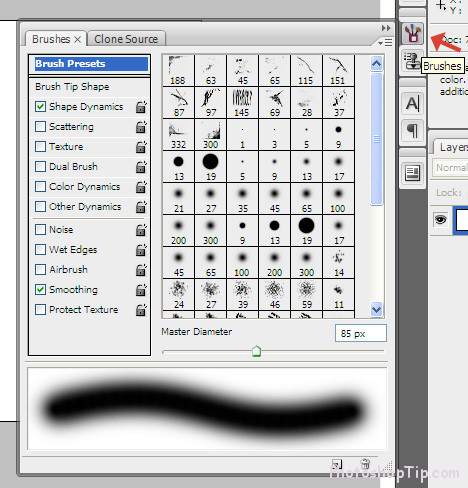
One of the most favorite features of Photoshop is its ability to process images as if it were an artwork. Using the Brush Tool is roughly equivalent to using a palm tree but it works on a digital background. One of its main advantages over “true” is the ability to change shape, diameter, and hardness, transparency immediately.
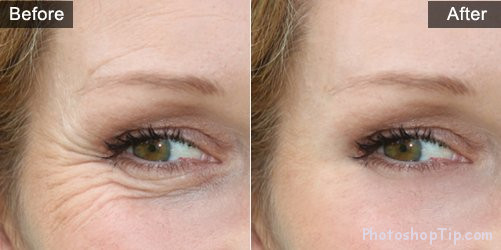
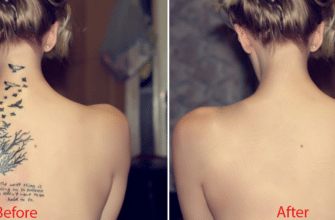
The Clone Stamp tool allows you to draw a part of a photo through another scene on the same photo. This is often used to duplicate or remove objects. It’s very similar to the Healing Tool except that it copies colors and textures, rather than mixing them.
- Curves
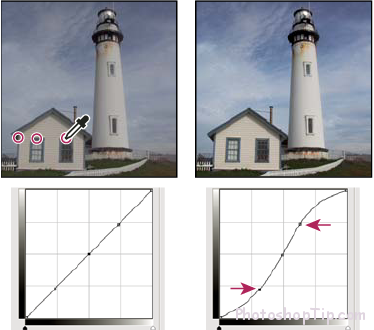
Curves are probably one of the best ways to make tone adjustments to your images. The Curves chart is based on the Histogram and allows you to lighten, darken, add contrast and even adjust colors from all panels.
- Dodge and Burn Tools
The Dodge and Burn tool is based on a traditional technique that photographers use to adjust the exposure on certain portions of the image. The Dodge tool allows you to lighten an area, while the Burn tool darkens. By specifying the exposure between tones, shadows or highlights, you can use the airbrush to apply changes or drag and select an area.
- Eyedropper Tool
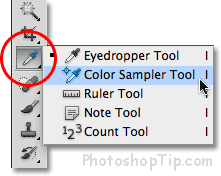
Photoshop uses the foreground color to draw and fill areas, and the background color to fill the gradient. The default foreground color is black, while the default background color is white. You can change these colors according to the color you choose with the Eyedropper tool. Select Eyedropper, click a color in the image, and the auto foreground color will be changed. If you make Alt + Click Windows, or Option + Click Mac, you can choose a new background color.
- Feather
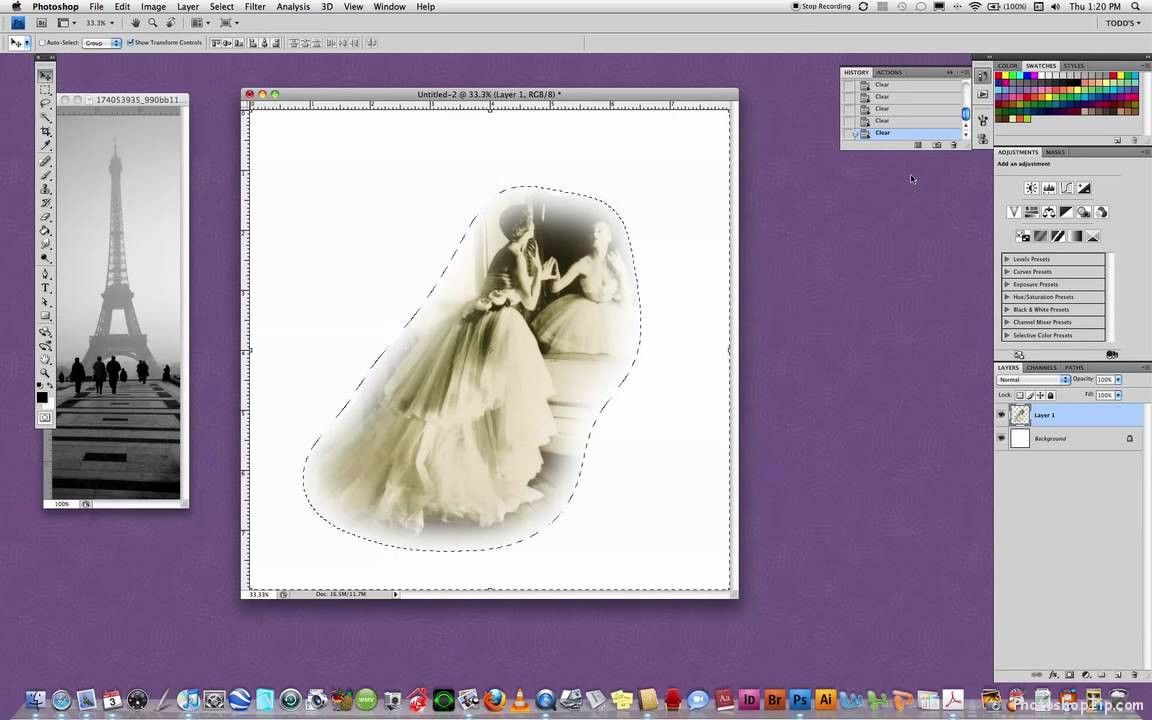
Feathering is the term Adobe uses to create softer edges. Using feathering you can adjust the sharpness of the edges, blend the image, or make a specific object stand out.
- Histogram
Histogram represented by charts represent the tonal values of your image’s tonal value. Using Histogram, you can define shadows, midtones, and highlights. Using Histogram you can quickly evaluate whether your image is properly exposed and has the appropriate contrast level.
- History Panel
One of the most important features of an image editor is the ability to undo what you just did. The History Panel provides a chronological list of edits that you have made. Having the opportunity to undo the edits you’ve made makes you more likely to experiment. By default, the number of states you can make in the history panel is 20, but you can easily change that in Photoshop settings.
- Layer
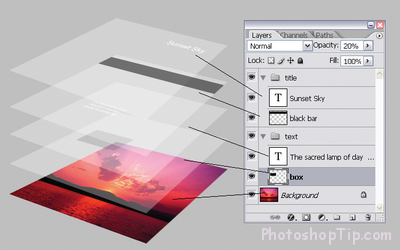
When you open an image in Photoshop it is specified as a background layer. After that, you can then overlay transparent layers on the background layer. This allows you to make image changes that affect the original image. You can use it to combine two images together, add text, or add effects, there are many functions.
- Layer Mask
The Layer Mask allows you to overlay multiple effects, images, and headings on the original background layer. The Layer Mask is a MASK mask that covers your layer. There are different types of masks with different thickness. On the worksheet, the Layer mask shows only two colors, white and black. With the darker, the coverage of the layer mask higher, which means that the layer will show the lightest.
- Magic Wand Tool
The Magic Wand tool is a great time saver when you want to remove a consistent color space like the background. Magic Wand automatically selects an area with extremely dark colors. You can even specify the color range – called tolerance – relative to the color you have chosen.

