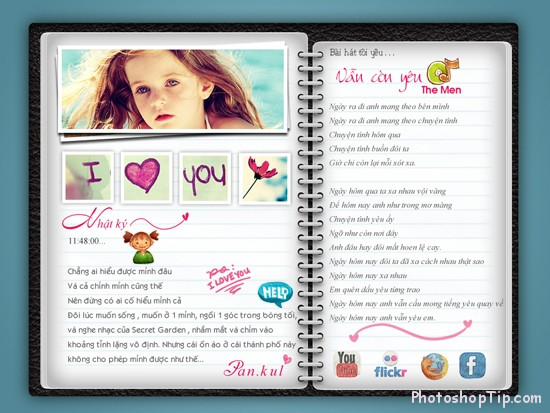
Step 1: Open Photoshop, create a new file by clicking File > New (or press Ctrl + N). Set the parameters like in the image:
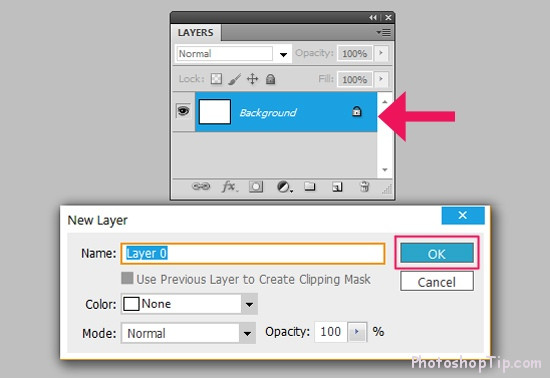
Step 2: Double click on Layer Background, then you can get the Layer 0 by clicking OK
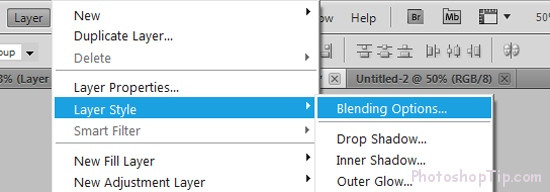
Step 3: Double click on the Layer 0 to open Layer Style then choose Blending Options:
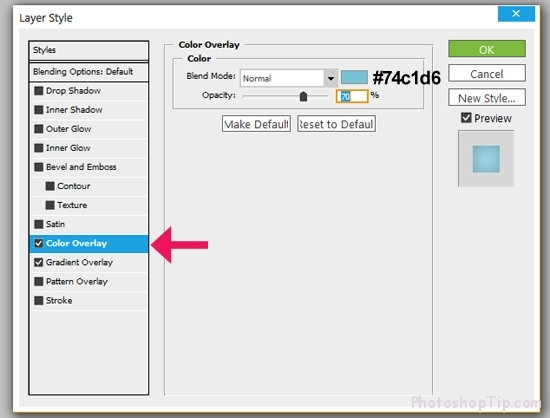
Next, we will adjust parameters like in the image below. In the Blend Mode of Color Overlay, we choose the color code #74c1d6 and 70% for Opacity parameter.
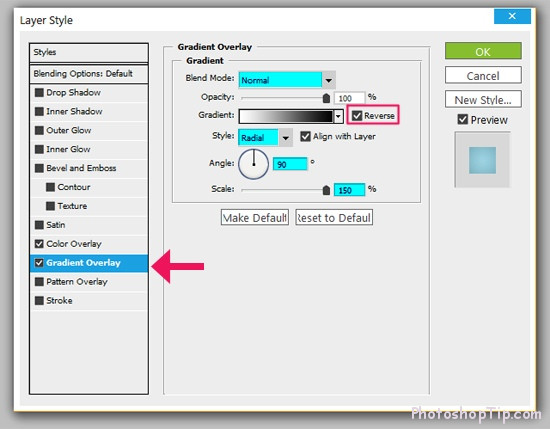
Then we adjust parameters like the shown picture for the Gradient Overlay
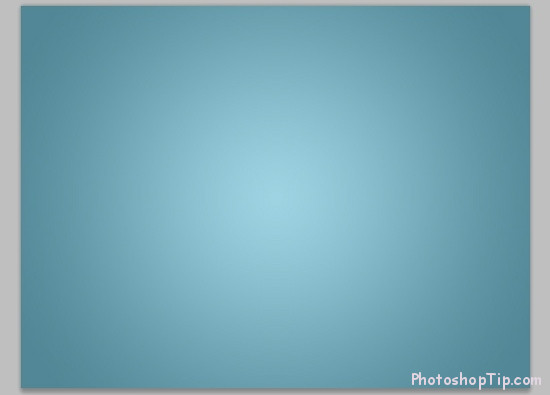
Finally, click OK to finish our Blending Options adjustment. We will archive a background like in the image below:
Step 4: You can download the stock photo by google. After downloading, we open it in Photoshop, then pull it into the file you are working with.
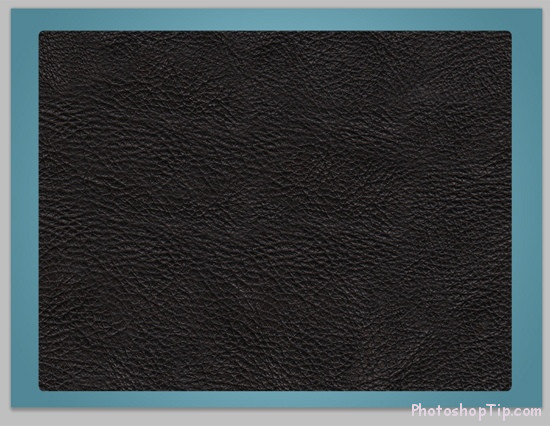
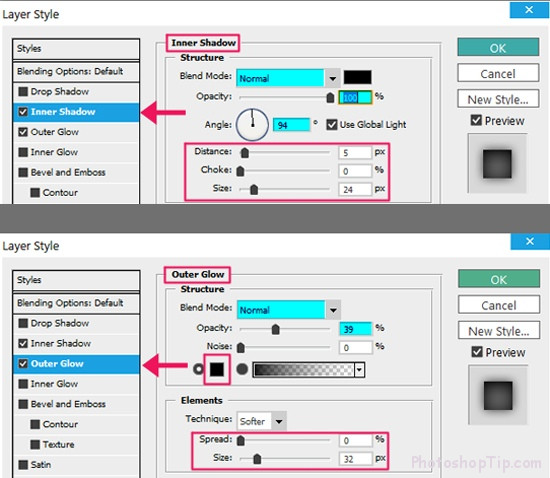
Next, double click on this Layer, establish the suitable parameter and click OK
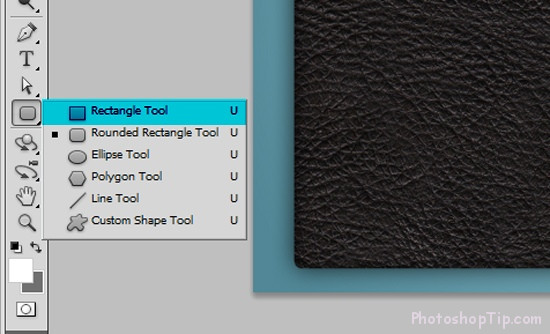
Step 5: We will create a new Layer by using the Rounded Rectangle Tool
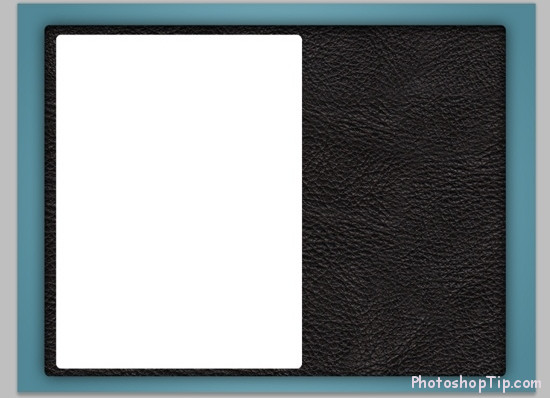
And draw into it a white layer
Now, click on the Layer already done to adjust the parameter. You should keep working with both Inner Glow and Stroke.
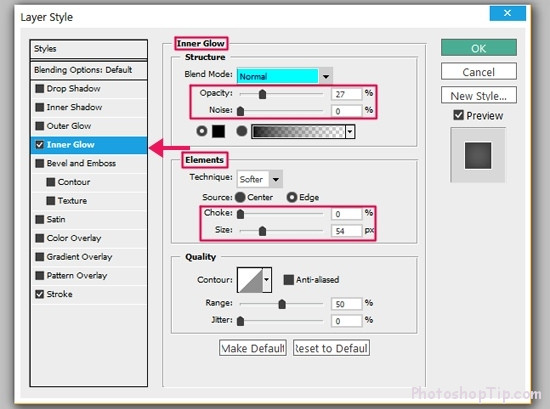
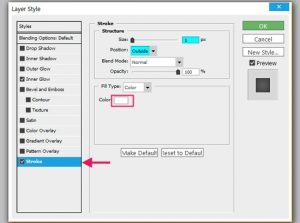
Next, we duplicate the layer several times by going to Layer > Duplicate (or press Ctrl + J)
Now, you just arrange them like a real paper.
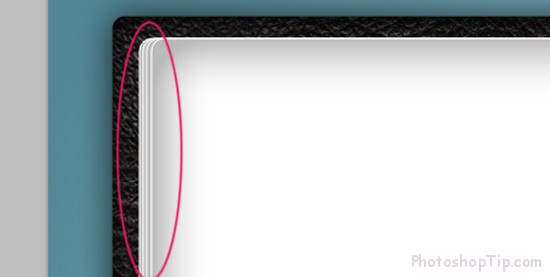
Step 6: You can download the line brush . We will create a new layer and use brush to make dim lines. You should choose the color code #dbeaee for brush color. You can use the eraser (or shortly press on letter E on the keyboard) to erase the spare doodle.
Your achievement will be like this image below:
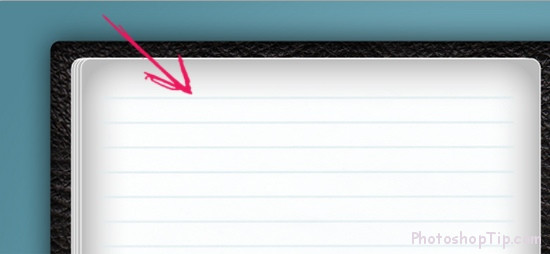
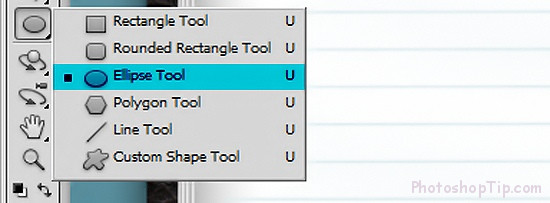
Step 7: We will use the Ellipse Tool to draw a circle looking like the paper-hole in a real diary.
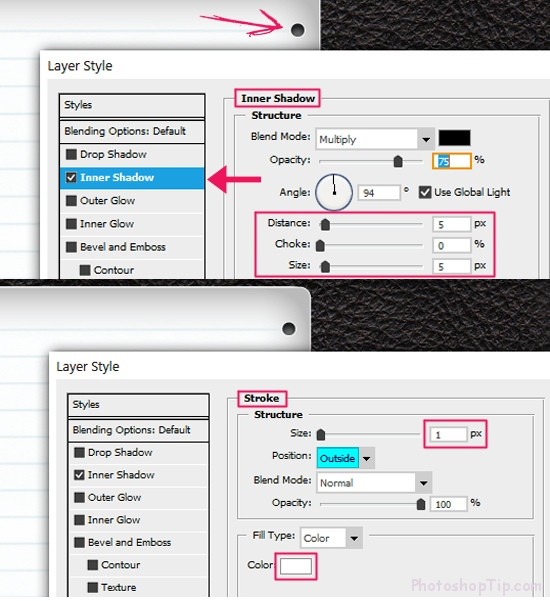
You need to create a new layer, draw a small circle next to the line, then double click on layer and start adjusting parameters. We will choose Inner Shadow and Stroke
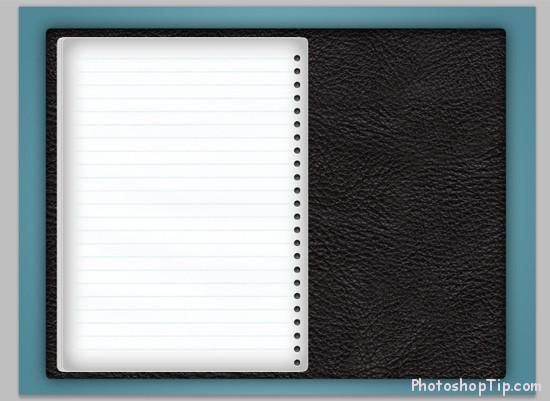
Next, you duplicate the circle several times, then arrange them regularly and we can archive the result like this:
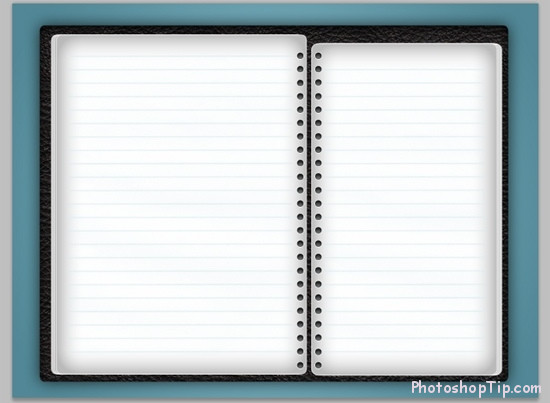
We will use the Rounded Rectangle Tool to keep drawing on the right paper. Then, we repeat all the step above until having 2 sides of the diary like this:
Step 8: We will make the spring for our diary by using the Rounded Rectangle Tool to create a new layer; then, we draw a small horizontal shape between the two holes in paper.
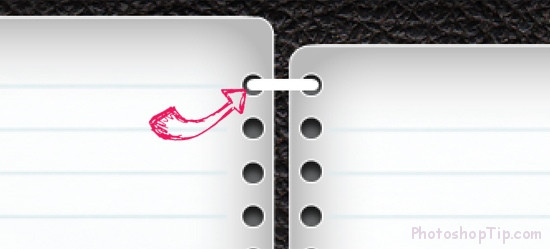
Then, you double click on this layer and set up the parameter like this:
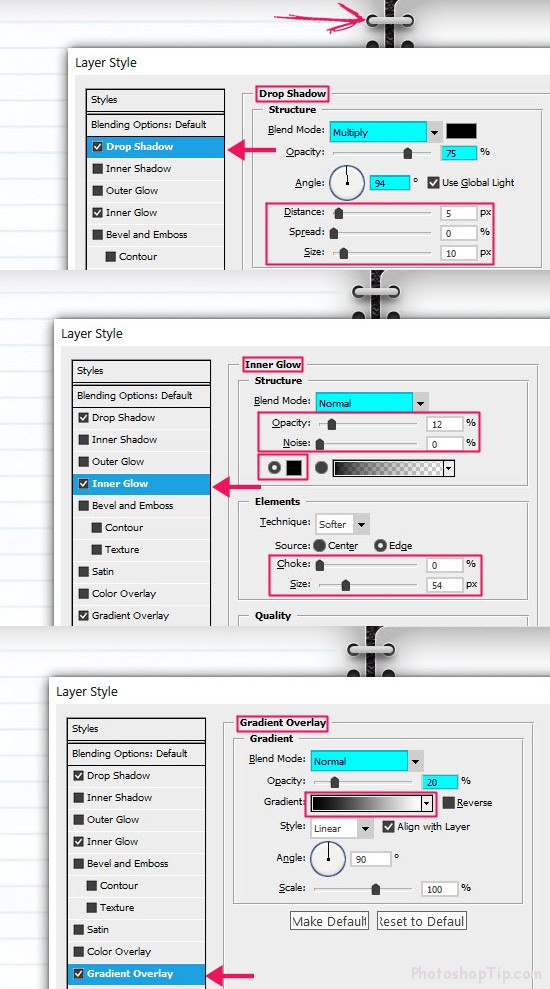
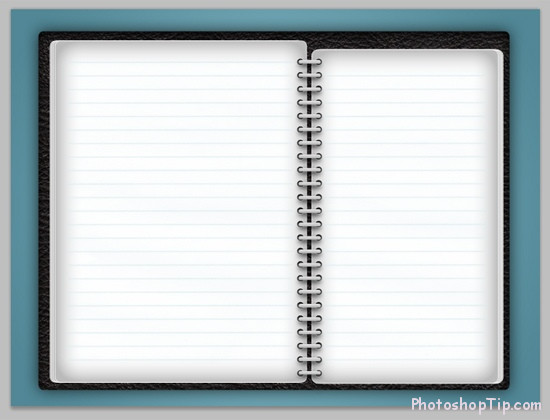
Finally, you need to duplicate them many times and move it regularly. Your achievement will be like this image shown below:
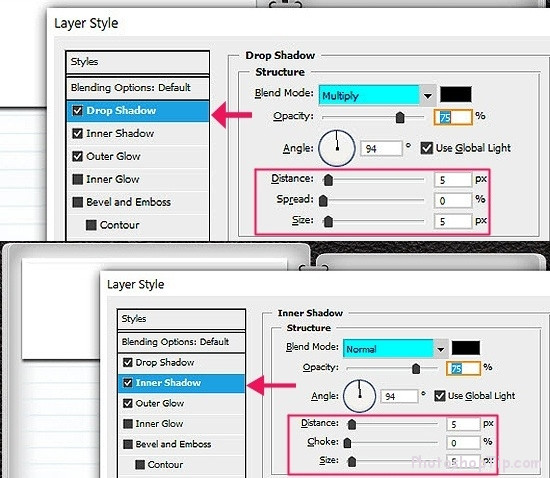
Step 9: We will create a new layer by pressing Ctrl + Shift + N and then use the Rectangle Tool (or press U) to draw a white rectangle on the paper. Now, you will double click on this layer and establish the parameter like this:
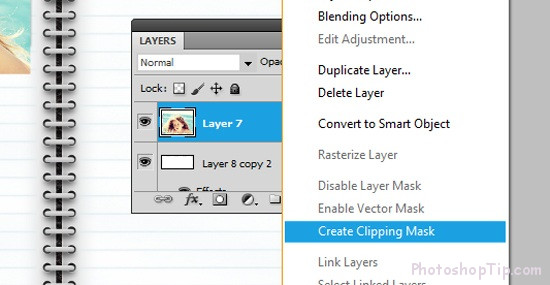
Step 10: You just open any picture you like, then pull it into the file you are working with (Don’t forget to put this Layer on top). Then, right click on this layer and choose Create Clipping Mask to put the picture into the rectangle.
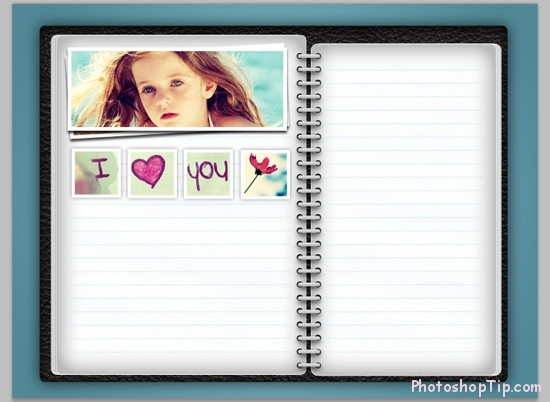
You should adjust the size of your photos to get the nice adjustment. Right here, we draw some more pictures, you guys can also do it by imitating the shown steps:
Step 11: Now, you can easily write down anything in your digital diary.
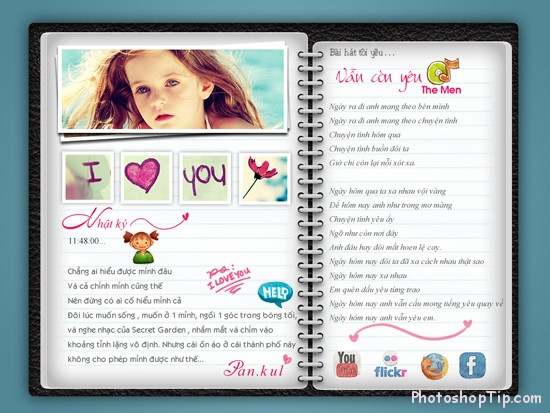
You can download lots of Brush and start to create your own amazing diary.
Good luck to you!

