Hair is the most difficult part to detach in an image when you want to detach that image to insert into another background. Photoshoptip.com will give you simple guidelines on how to detach hair with Channel function using image-editing software Adobe Photoshop.
Adobe Photoshop is the most famous and chosen image-editing software in the world. While the previous posts in Photoshoptip.com once introduced ways to make photo collage, this post introduces you technique to detach hair with the available Channel function.
Detaching hair from background is one of the most basic photo collage and editing techniques in Photoshop. However if you do not know how to do it and use only Lasso Tool, you cannot detach all the hair with tiny details.
Your compatible Photoshop versions are available here: : Download PhotoShop
DETACH HAIR FROM BACKGROUND IN PHOTOSHOP
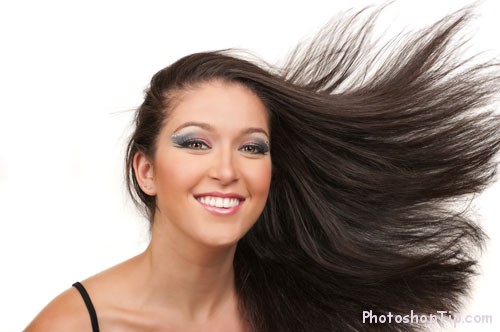
Step 1: Open Adobe Photoshop, choose any image to detach..gives guidelines with below image
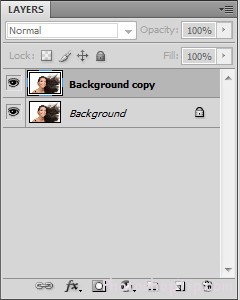
Step 2: Open the image, duplicate the image by clicking Layer –> Duplicate
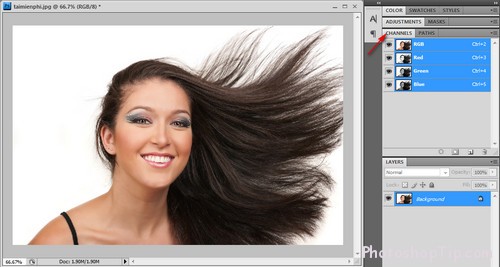
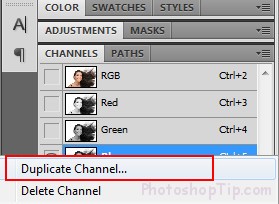
Turn to Channel mode
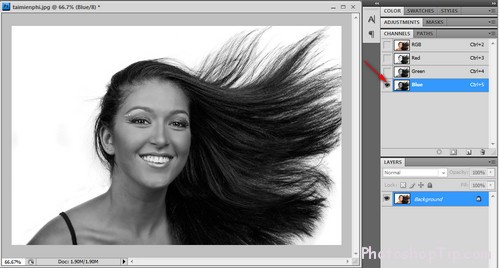
Step 3: Click into each available Channel, choose the Channel which clearly shows contrast between the person and the background in the image. In this image, you can see clearly that Blue mode has the sharpest contrast.
Step 4: Right-mouse click into Blue mode, choose Duplicate Channels duplicate Channels
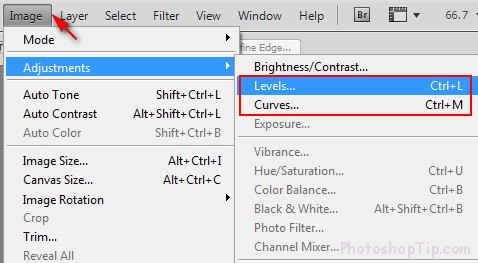
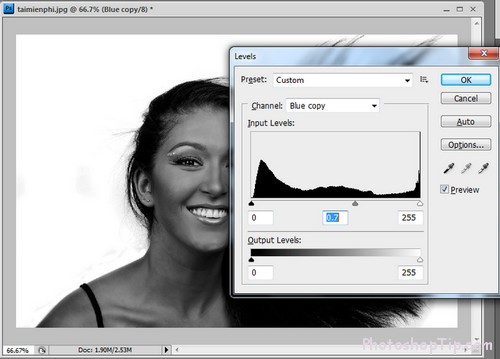
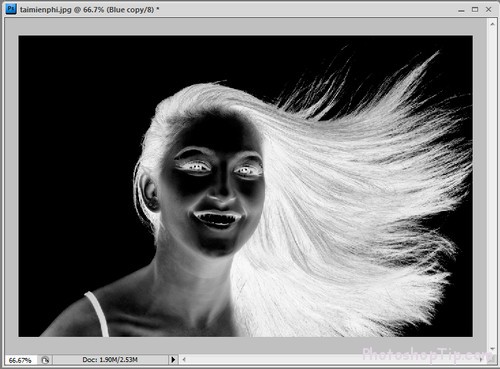
Step 5: in the copied Channel, use 1 of the below 2 methods to adjust contrast for make the contrast sharper:
– Levels ( Ctrl +L): Click Image –> Adjustments –> Levels
– Curves (Ctrl + M): Click Image –> Adjustments –> Curves
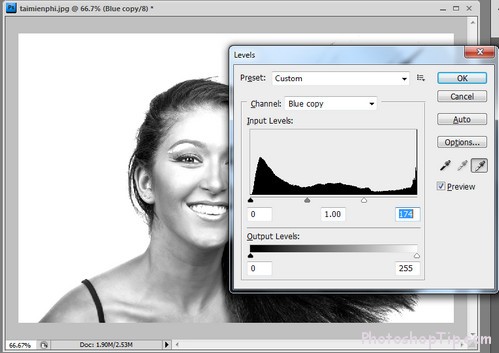
To increase contrast, choose White Point
Reverse Channel by clicking Ctrl + I
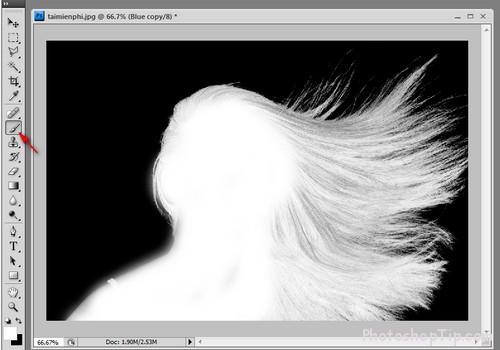
Step 6: Use Brush tool (Shortcut B) and white the object
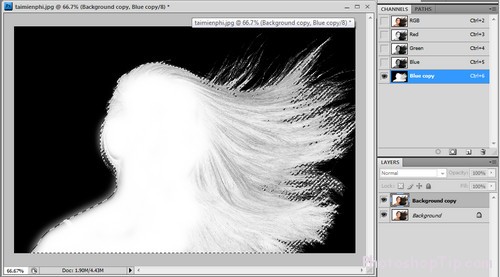
Hold Ctrl –> click Thumbnail of Channel Blue copy
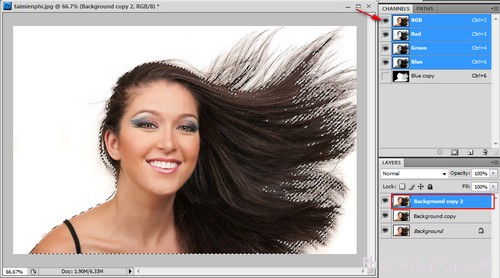
Step 7: Reselect Channel RGB mode and come to layer to duplicate the layer you have worked
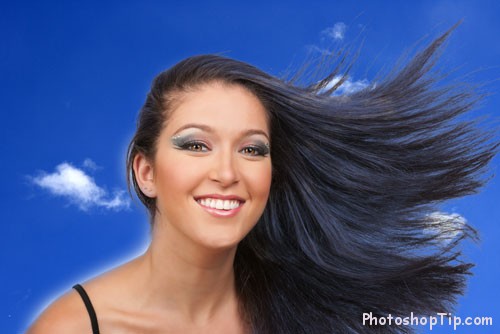
So we’ve finally detached the image with all the hair of the girl, successfully. You now just put this image of the girl into another background.
And here’s the result


