
When your job needs to use Photoshop regularly, organizing the PSD files is very important, especially when you work in a group and your product can be edited by many people. In this article, I would like to share 10 tips which help you to manage your Photoshop files professionally.
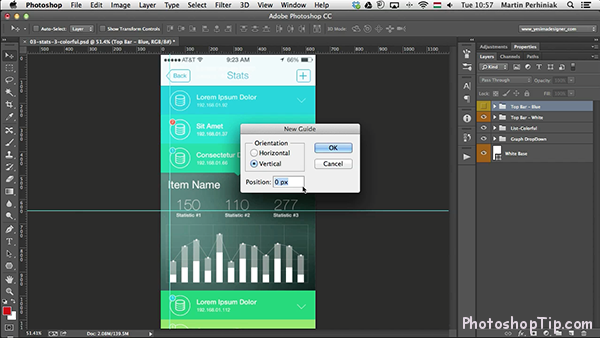
1. Use Guides & Grids
Actually, there are many choices in Photoshop that can help you to align your objects together. And here, I recommend you 2 tools (Guides and Grids) to you for locating and shifting the position of the objects in your project.
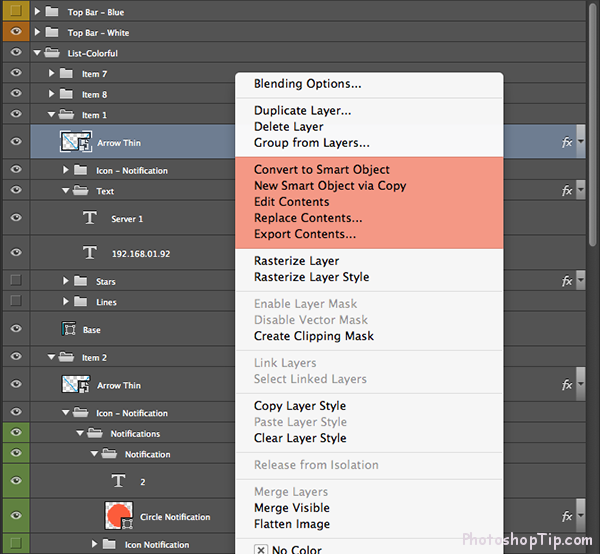
2. Use “Smart Object”
Use “Smart Object” when you want to manage separately many layers of one object, this will help you create a Smart Object, so you can edit the object by modifying the original ones.
For example: I draw the eyes with 10 layers, including: layer1, layer2, layer3… layer10.
Instead of grouping them, I select all 10 layers and turn them into a Smart Object, so they will be moved to a new PSD file. When you want to edit this Smart Object, just click on it. This will open a new window automatically for you to modify the layer easily. Then you can save it by press Ctrl + S. Finally, turn off and go back to your file, you will see the change.
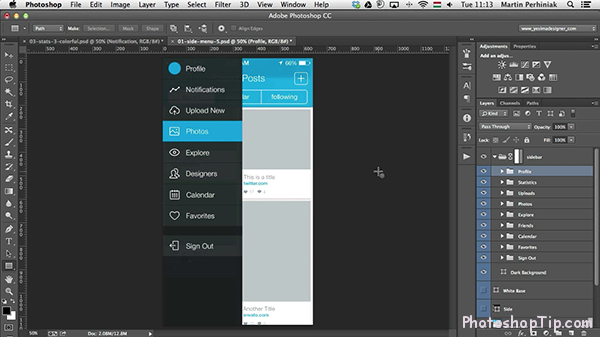
3. Work with Layer Groups
Layer Groups help you manage your PSD file much more easily and visually. I want to mention here that this is probably familiar with creating folder to store the same types of information or files. And Layer Groups in Photoshop work similarly this mechanism.
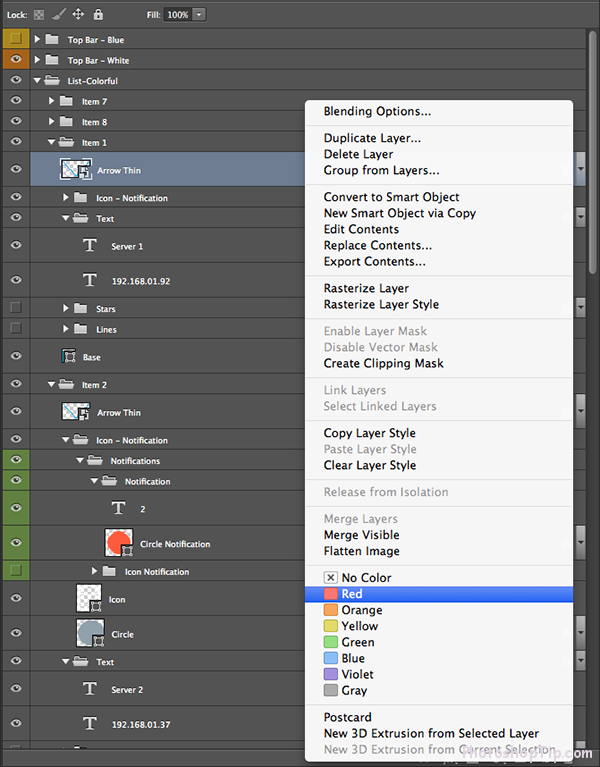
4. Name and color the layers
Naming and grouping the layers is one of the best choices to organize and control your PSD files. You can easily search for the object by its name instead of layer 1, layer 2 or layer 3…
Besides, by coloring each group of objects, we can see the relationship between those objects faster.
 5. Use Adjustment Layers
You should use the options of Adjustment Layers – a wonderful tool enables you to edit the object but not make change to original layer. Besides, anyone working on this project can also see the settings that you used, which help you to update and reuse much more effective.
6. Use Shape Vector
Like working with Illustrator, Shape Vector supplies you flexible shapes and vector lines. You can completely adjust the shape by using Selection Tool and Pen Tool. The strong point of Shape Vector is that you can change the size of a shape without affecting on the image’s quality.
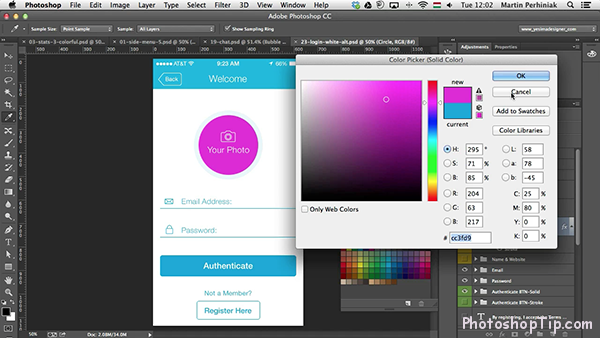
7. Be consistent with color by Swatches
At first, select all colors that you will use in your design to make sure the consistence. Then you can save those by Swatches to keep on using in the next time.
8. Delete the unnecessary layers
The unnecessary layers will make your PSD file messy and increase the size of it. Make it better by deleting some disused layers!

